
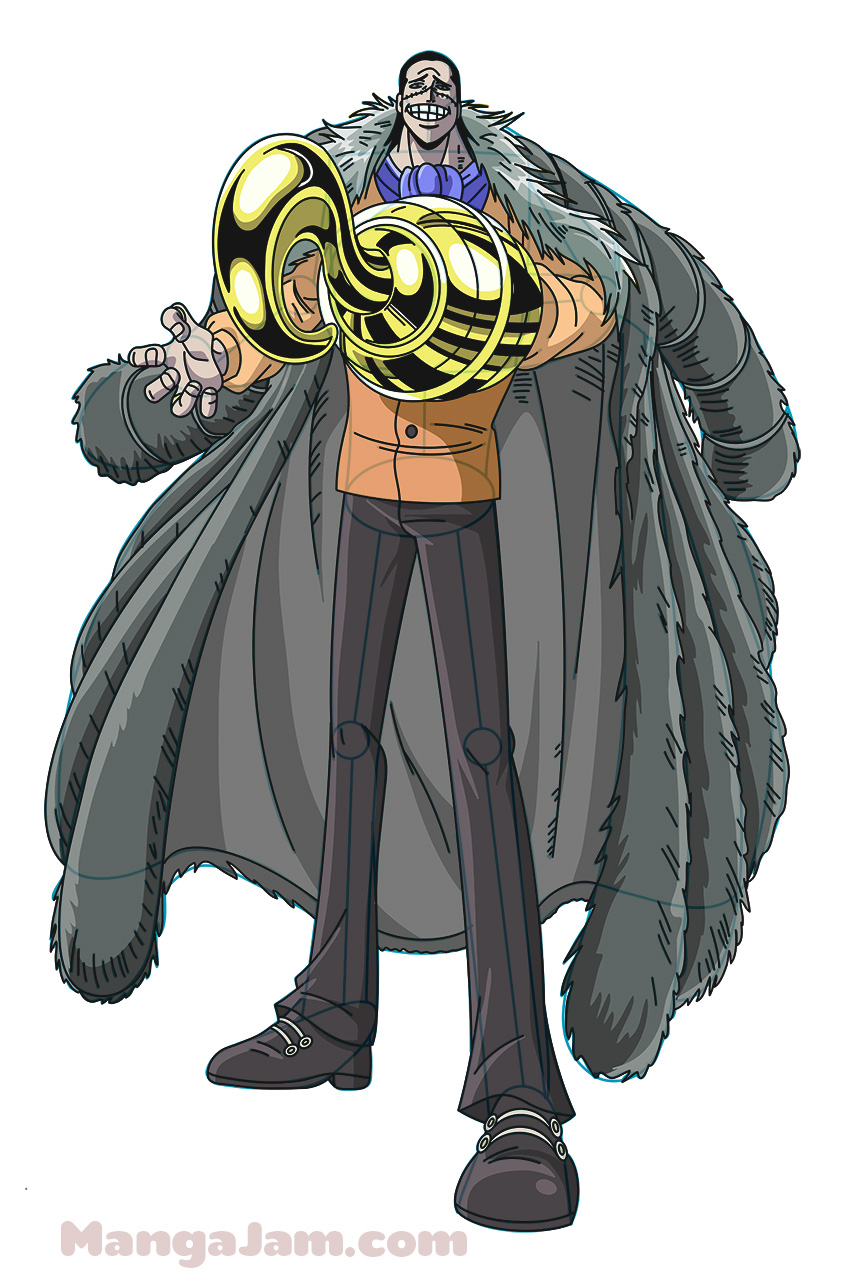
Hello guys! Today we are going to show you how to draw requested Silvers Rayleigh from One Piece ! Hope you are all excited.. it’s not going to be easy but with this tutorial nothing is impossible ^_^. As you probably know already the Silver Rayleigh – also called “Dark King” – is the former first mate of the Roger Pirates which was the only crew to ever reach “Raftel” the end of the new world in the Grand Line. Two of Reyleigh’s most distinguishing traits are his round glasses and facial hair, which is arranged in a stripe-like pattern across his lower jaw. He also has a scar over his right eye, which he has had for many years. He is apparently extremely powerful. On top of being a top notch sword fighter in his own right one of Rayleigh’s greatest power comes from little known skill called Haki. This is a power that all humans could potentially use, but few can actually access. Using my “Observation Haki” on you mangakas right now I can feel you are about to scroll down to see the tutorial already so no more reading .. Let’s start!
Step 1
Just a reminder to all of our mangakas that all of the blue and green lines you see in this tutorial are only construction lines and will be erased later on, so don’t press too hard on your pencil when drawing these lines. Our final lines you’ll see in black at the end of the tutorial. We’re going to begin with our head circle, center and eye lines. Let’s start by drawing a fairly large head circle in the center of our paper. We want to be sure to leave enough room under the head circle for Reylegh’s significant long chin and beard. Also enough space on the side of the circle for those flowing hair. Pro Tip 1: When drawing your head circle go around a few times very lightly with your pencil to get a nice outline of a circle, as it can be quite hard to draw a circle free hand. Then trace your head circle over the outline you have made. Once you’ve got your head circle, we’ll draw our center and eye lines (blue lines in the image). The center line is vertical and cuts the head circle in two. The eye line is a flat horizontal. We also want to add a small dash mark towards the end of the center line to help us mark out where the chin will be (the green dash).Pro Tip 2: Measurements: The eye line is about 1/4 of a head circle up from the bottom of the head circle. The chin dash on the center line is a about the same distance from horizontal eye line as from the eye line to top of the circle.

Step 2
So here we’ll begin with the jaw line on the left that begins on the intersection of the head circle and the eye line and then curves down to the chin dash on the center line. We’ll do the same thing on the right starting on the intersection of the head circle the eye line and coming down to the chin dash. Next we are going to draw the eyes which are right in the middle of each eye line. The mouth is placed in the middle of the chin and eye line and it is very wide curved upwards on each side. The Nose is a small valley shape line between the circle and mouth.

Step 3
In this step we are going to continue with the eyes basically by adding the upper lines which close the eyes, and circles inside the eyes attached to the upper line. Place them slightly closer to the inside of each eye but just a little bit.. Now we are going to add the line for the lower lip which is almost the same length from the upper lip as the nose. Next, let’s draw the hape for the ear on the left and right starting right below the intersection of the head circle and eye line. The tricky part might be the hairline. We start with the left part of the hairline on about one quarter from the top of the head to connect it with the intersection of the head circle and eye line. We do almost the same with the right part of the hairline but this time we draw it less rounded and further away from the circle. The round line under the chin is Reyleigh’s beard and is U shaped. It connects to the head in about half the distance from chin to lower lip.

Step 4
Here we are start with more details like glasses, hair and the beard. Following our general drawing rule of going from top to bottom, we’ll begin with the hair. It might look hard but the hair is kind of easy. There are four wavy lines on the left side and four on the right side. Reyleigh has what we call hair quiff and it as on the right side of the head. The shorter line ends on the hairline corner and the second one goes all the way down to the ear. Well Reyleigh is wearing glasses all the time which makes him very cool actually so now we have to make two circles around the eyes as you can see on the picture and draw a bridge line to connect them. The bridge line should be slightly below the horizontal line. The top of the beard looks kind of like skyscrapers to me So just start on the left side where the beard begins and draw a little skyscrapers all the way from left to right as you can see on the picture. Also don’t forget to touch up the ears a little with some extra curvy lines inside the ears.

Step 5
More hair lines in this step which makes the hair even more wavy on the both sides. On the right all the hair line are connected to each other. Also notice the line which leads down from the top of the head circle connecting to hairline on the right. Now we have to make this old man look like he has been here for a little while and add some wrinkles Three horizontal lines under the hair line will do the magic! .. also adding eyebrows which looks kinda like a question mark without the dot on the left side of the face and as letter “s” on the right side with little extra wrinkle above . Add more wrinkles under the eyes .. draw a lines between the eyes and the lower part of the glasses and donÂ’t forget the lines which represents the temples of the glasses. Add the nose line leading it from the bottom of the nose to the bridge of the glasses’. And to show more of the Reyleigh’s character also draw some pointy wrinkles on the sides of the upper lip line. Now he can smile at us, right?

Step 6
Here comes the scar over the eye on the left. To make him look more like he has been through a lot we have to add some little scars which you can do by drawing a small lines here and there on his face.. try to follow the picture and also add some more hair on the both sides. On the left draw another hair quiff. Also notice the jagged hair on the left side of the head and try to separate the hair by parting it with the extra “v” lines on the top of his head. Yes.. we are almost there!

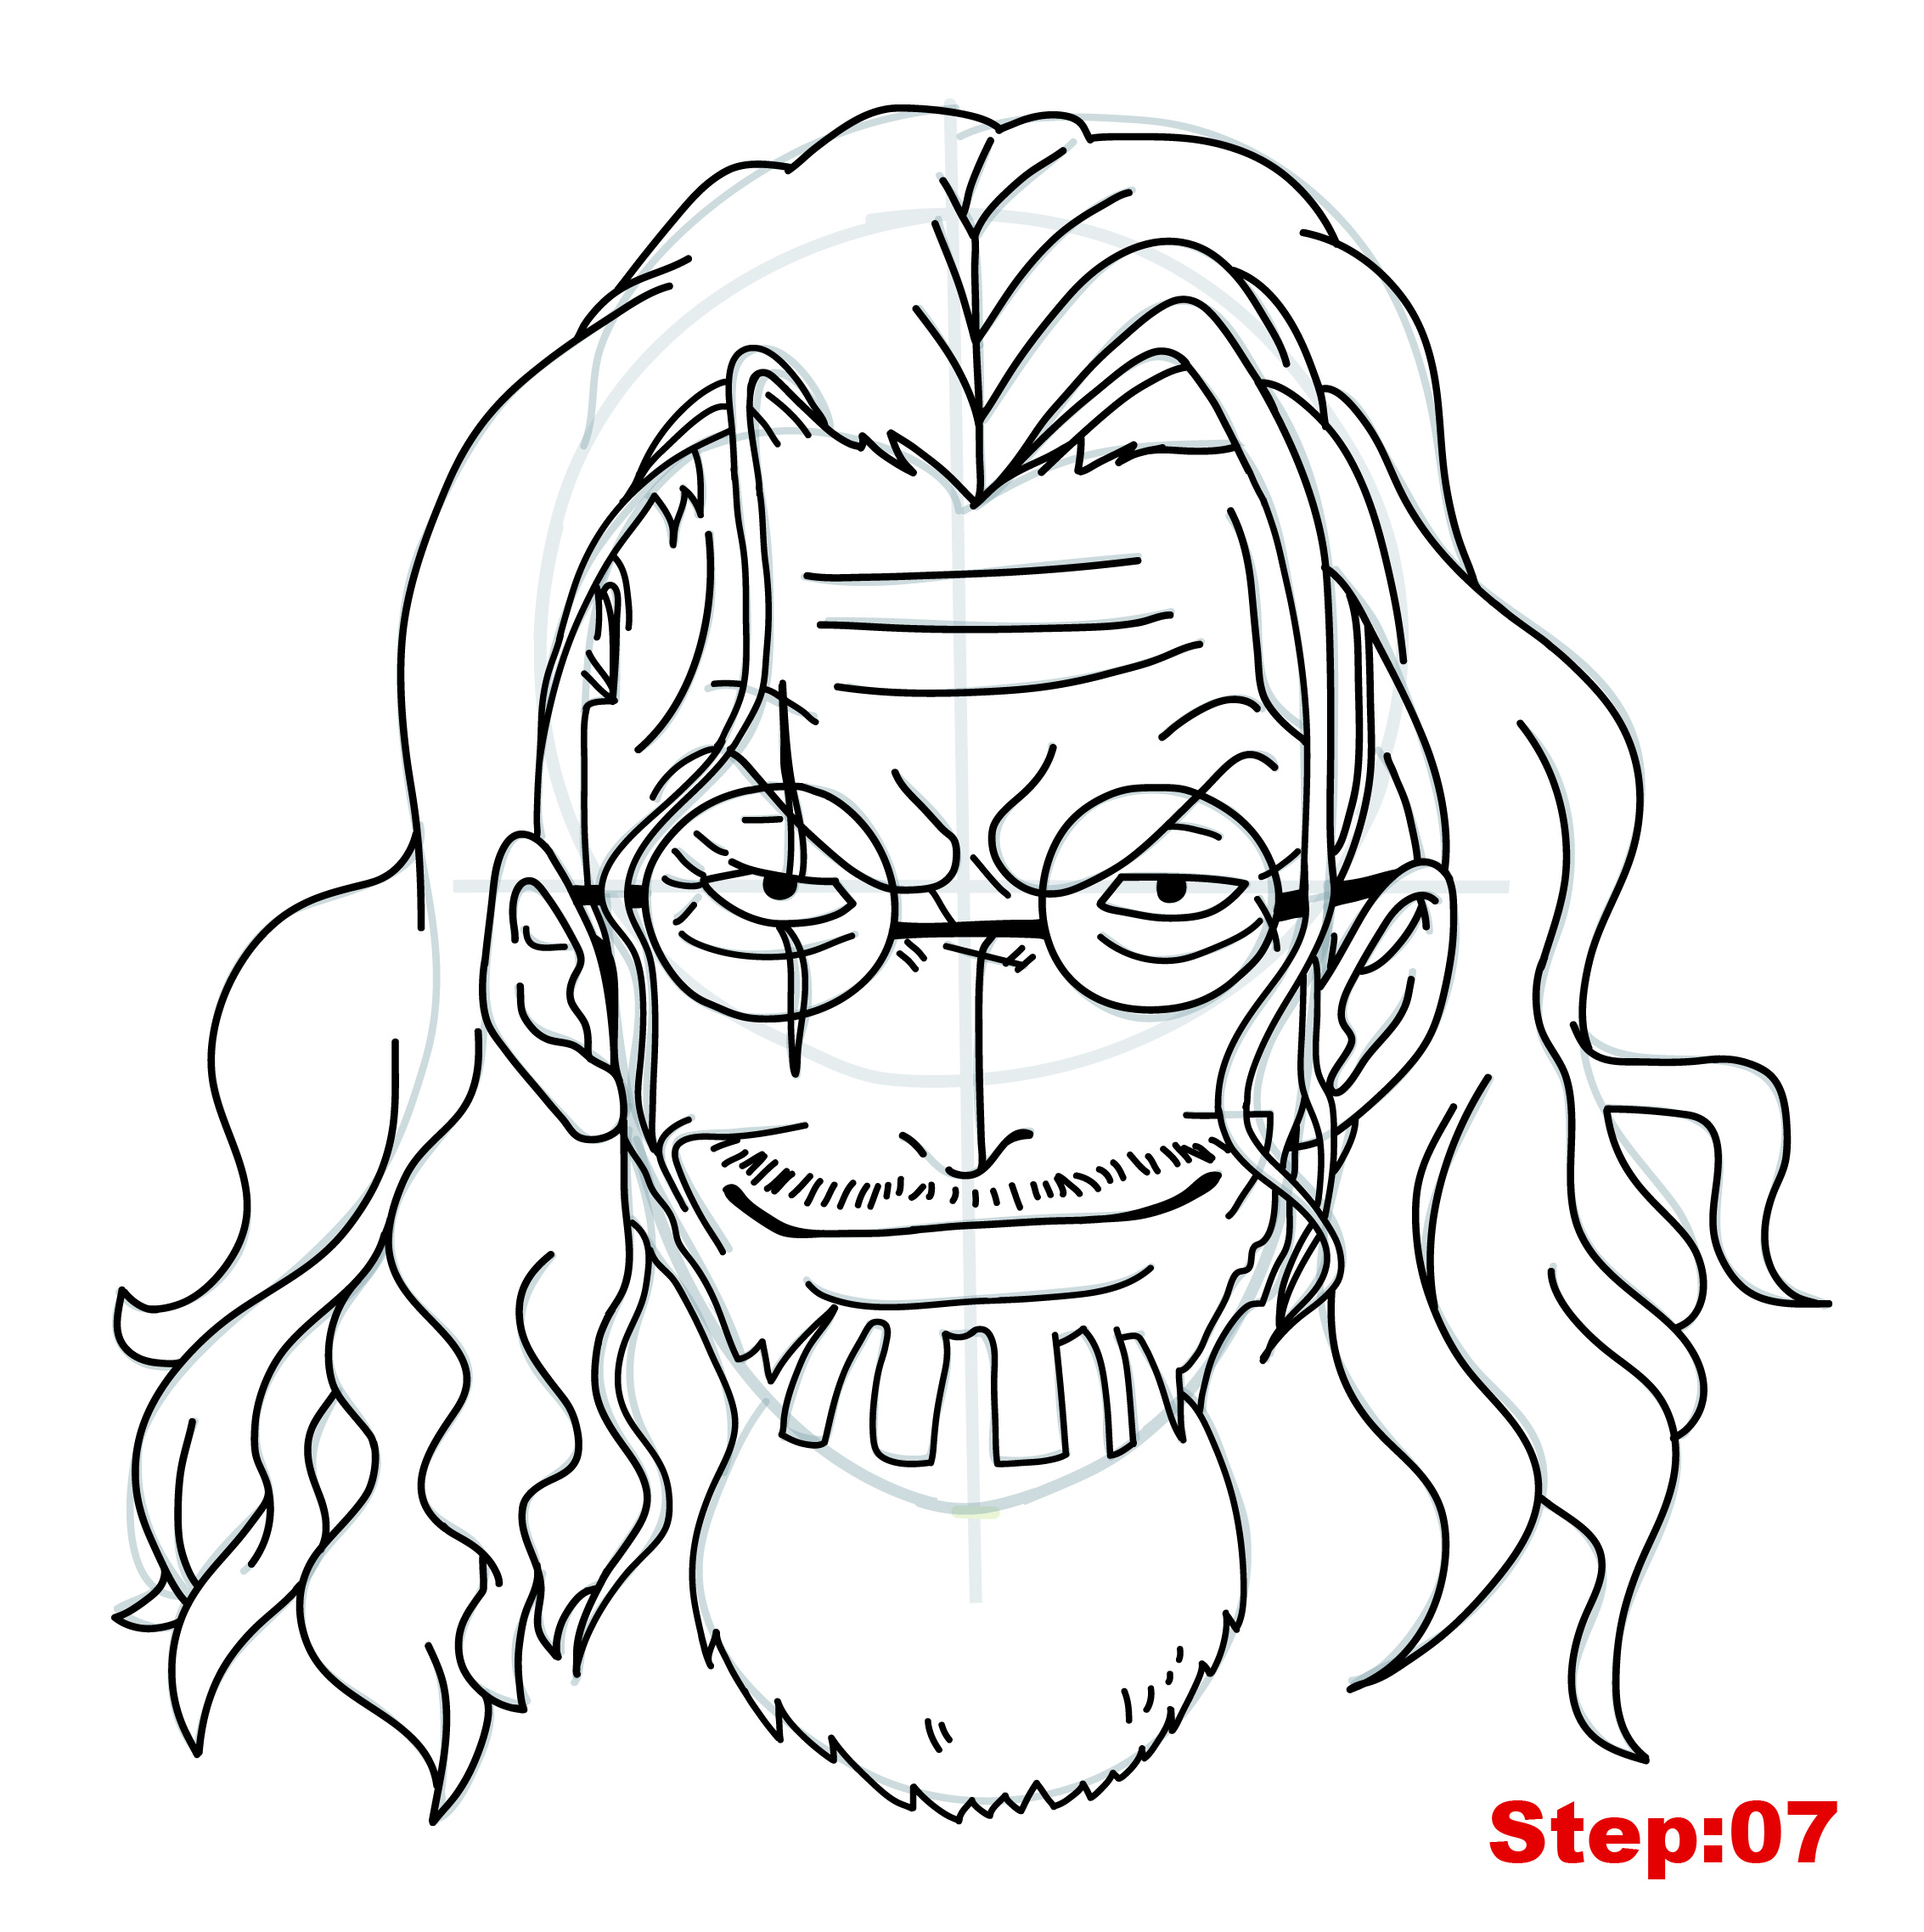
Step 7
That’s it for our construction lines for the moment. So use your eraser to lighten all of the lines that we’ve made so far. Then get your finishing pen and draw your final lines in black. Make sure to refer to the picture as we don’t trace all the blue construction lines or we trace only parts of it. At first, just get a nice outline in thin black lines. Don’t worry about filling or anything for now. Just do a nice outline and then continue as follows. Now that you have a nice thin outline in black, we’ll go back and work on line quality and filling. Line Quality: This means that we want to go back over some lines to thicken them a little. This will help us to give our drawing a better 3D feel. Thicken the bridge and temples of the glasses. Don’t forget that the hair is placed in front of it so do not fill those hairlines. Make sure to thicken the corners of the mouth too so we get some depth there. Also add several short lines above the upper lip for the mustache and make the beard look more jagged with some small lines and dots to give it the volume.
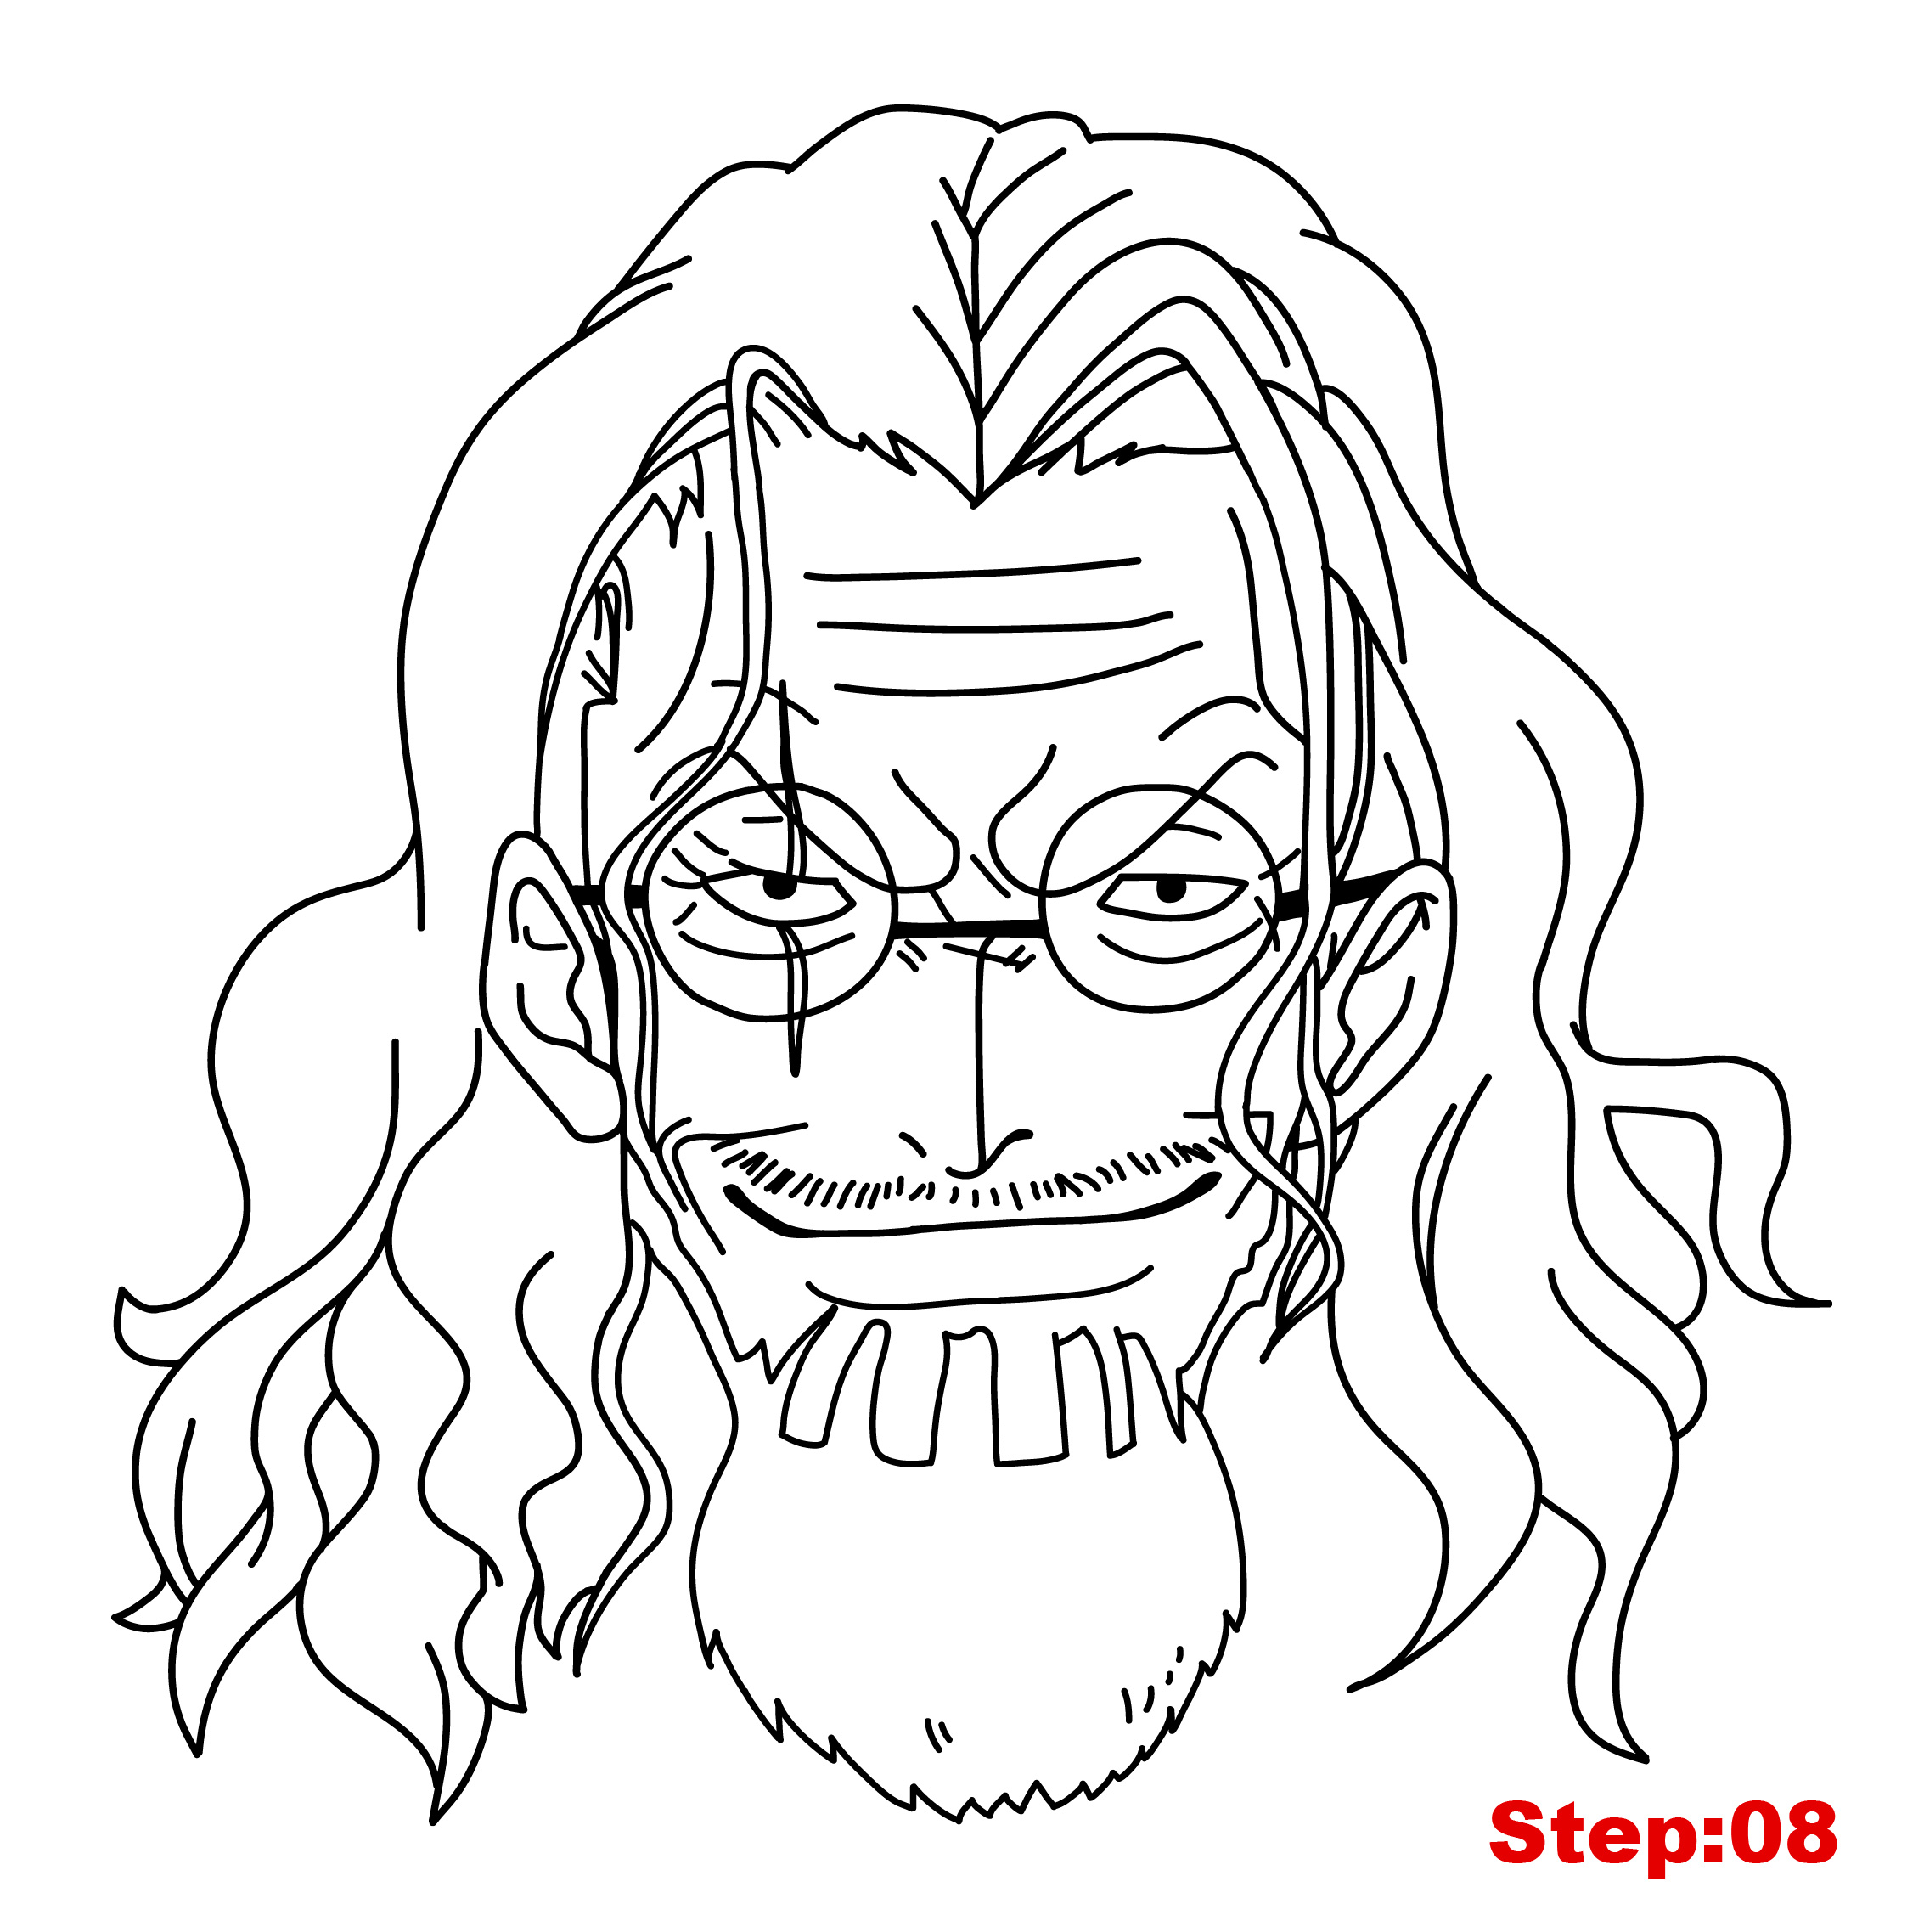
Step 8
Just give your ink a minute to dry and then completely erase any remaining construction lines that you can see.
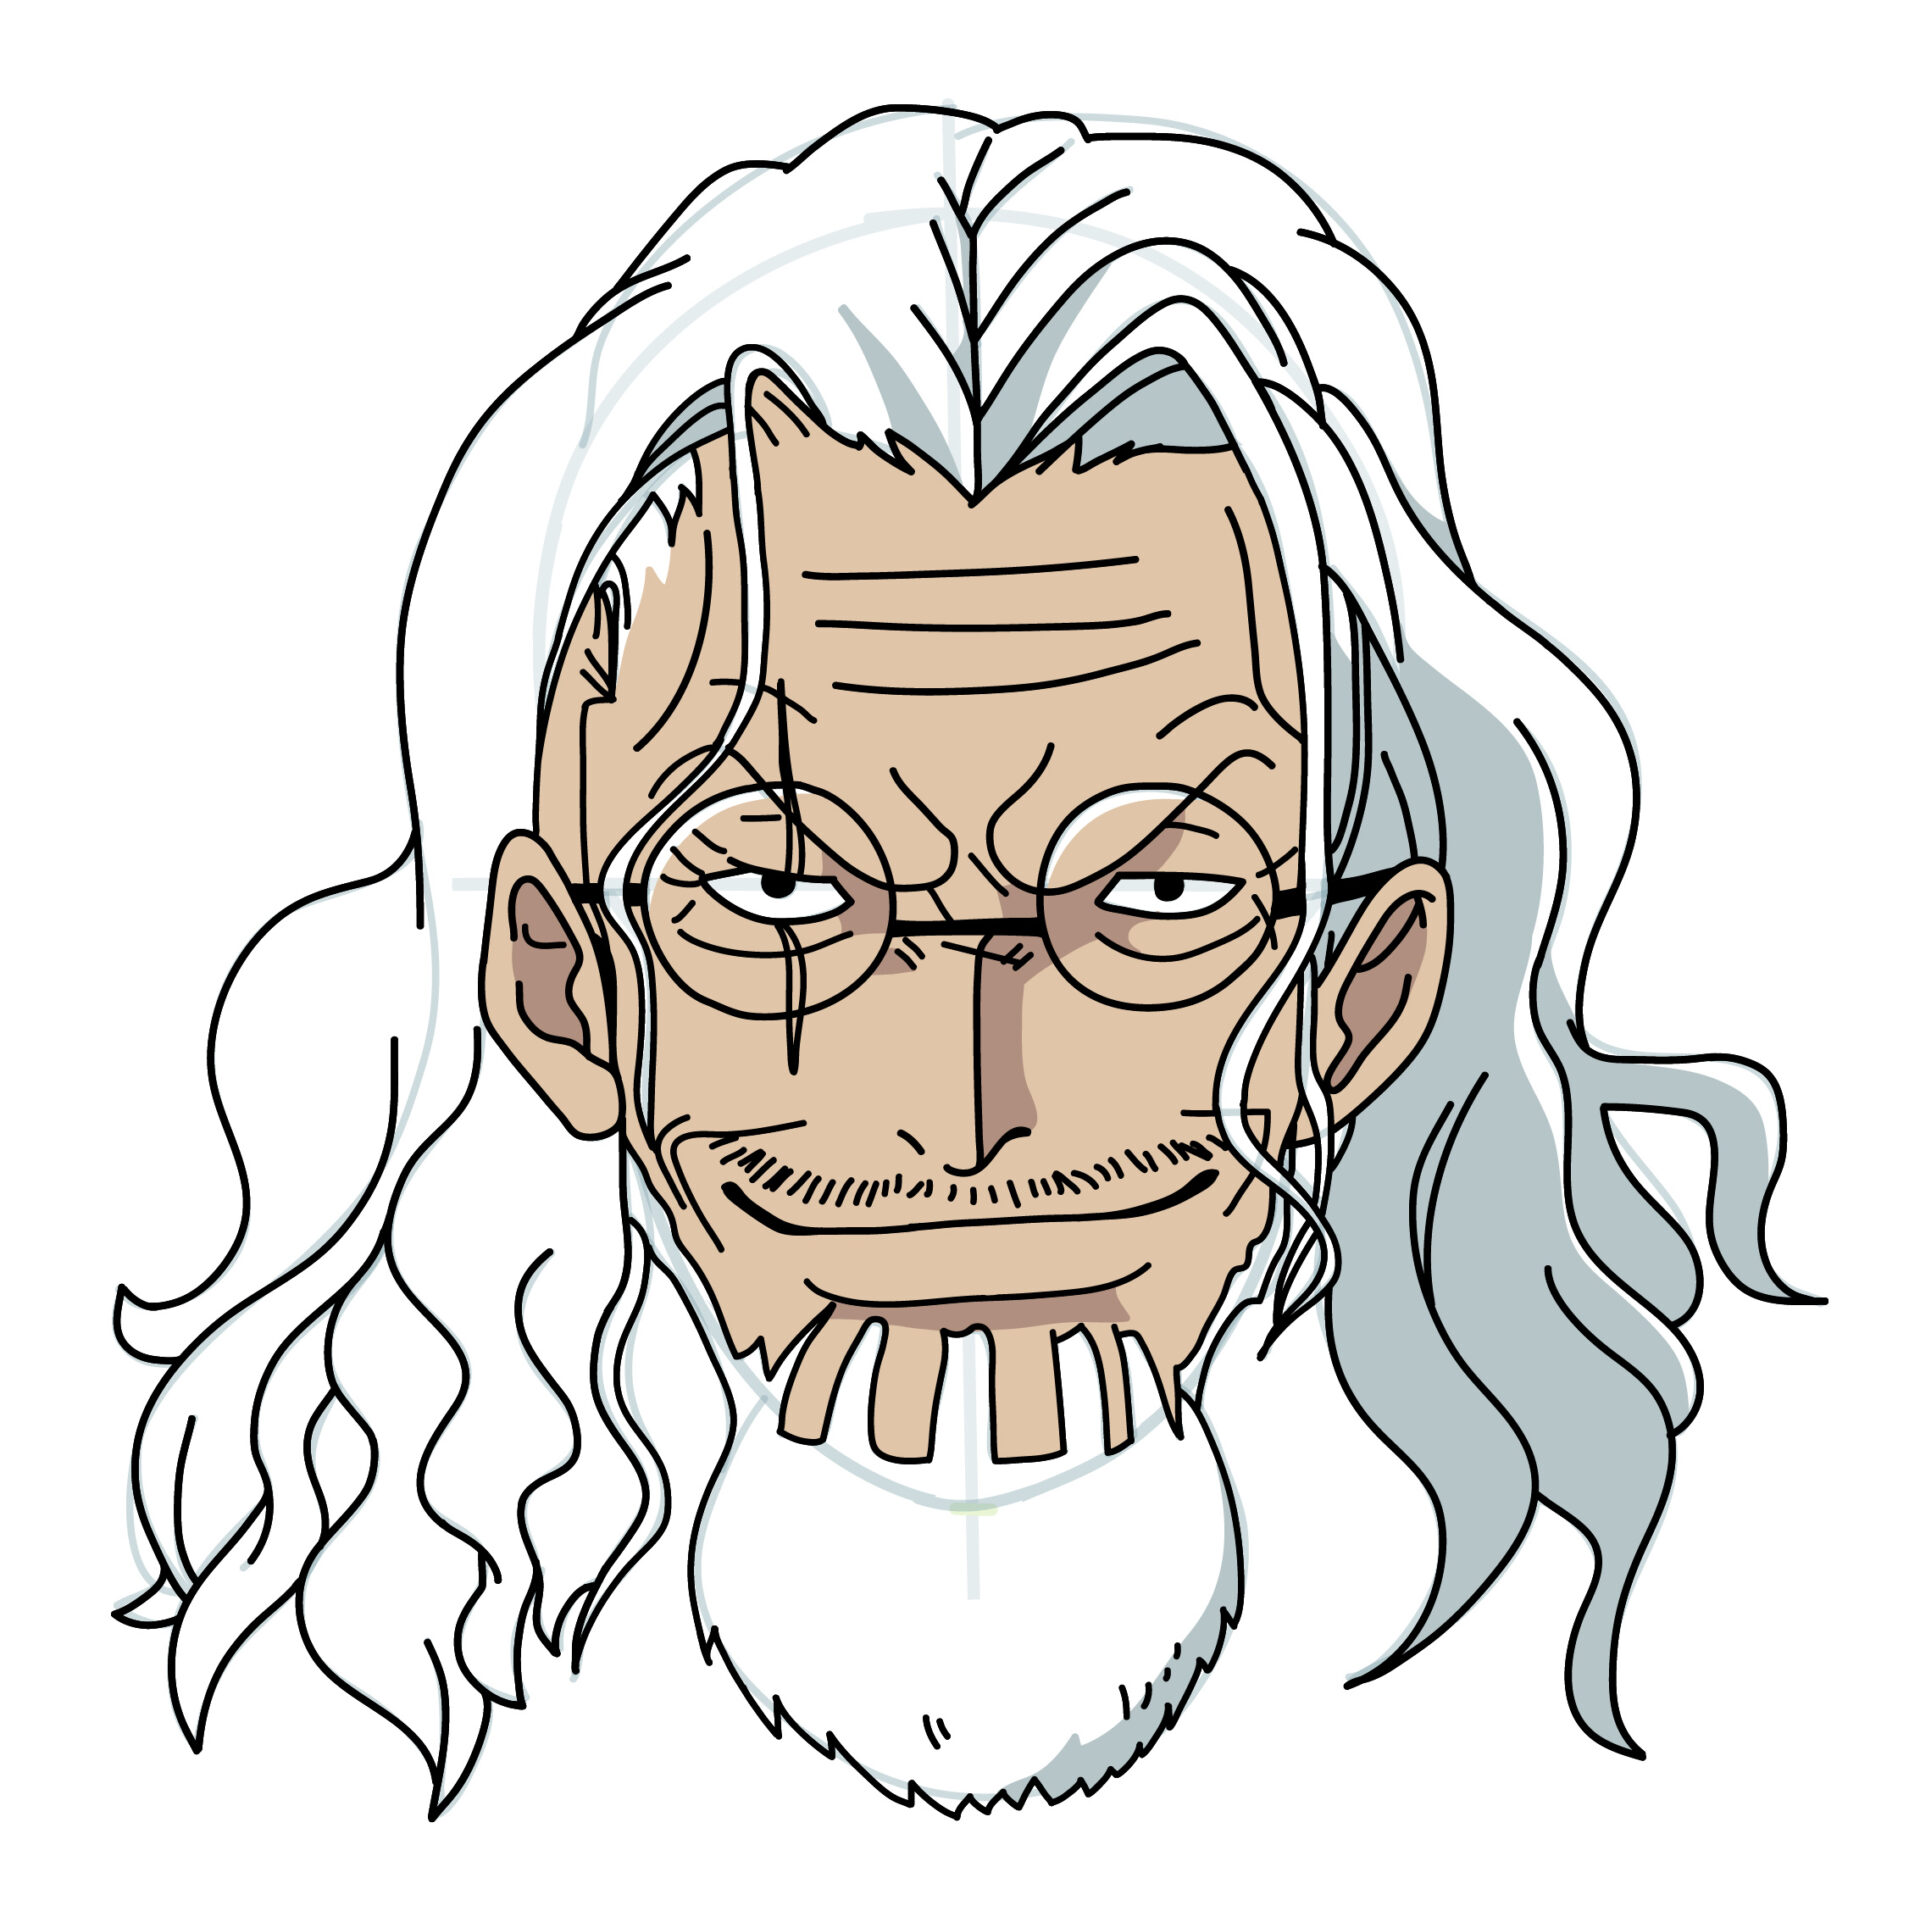
Step 9
Now the Reyleigh is ready to be colored, we need only blue grayish color for his hair and two shades of brown for his skin. Make sure to draw the outline of color areas in pencil first. Great, you’ve just drawn the great “Dark King”! If your goal is to become a great mangaka make sure to draw Reyleigh again from memory. Then compare the final drawing with the original and correct any mistakes you might have made. Try once again from memory. This is the best way to build a huge library of shapes that you can use in the future for your own manga characters.
Draw with passion!
Hiroshi (Text by Belldandy)


2 comments
Comments are closed.