

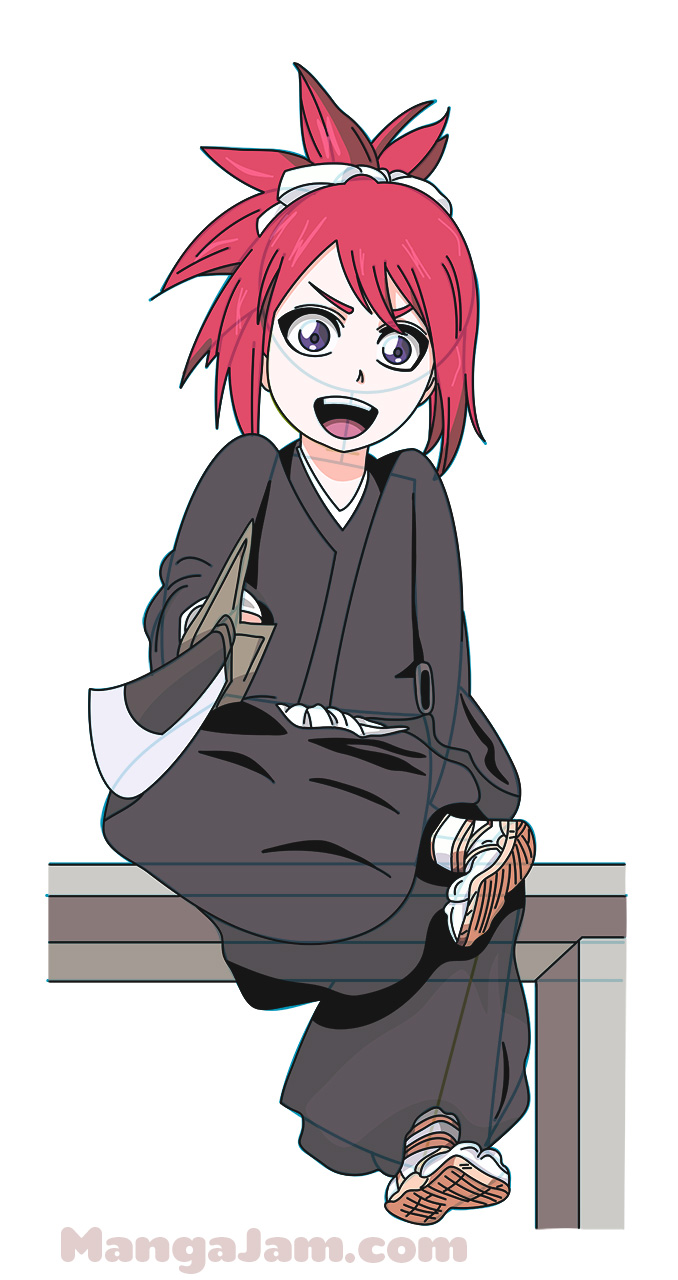
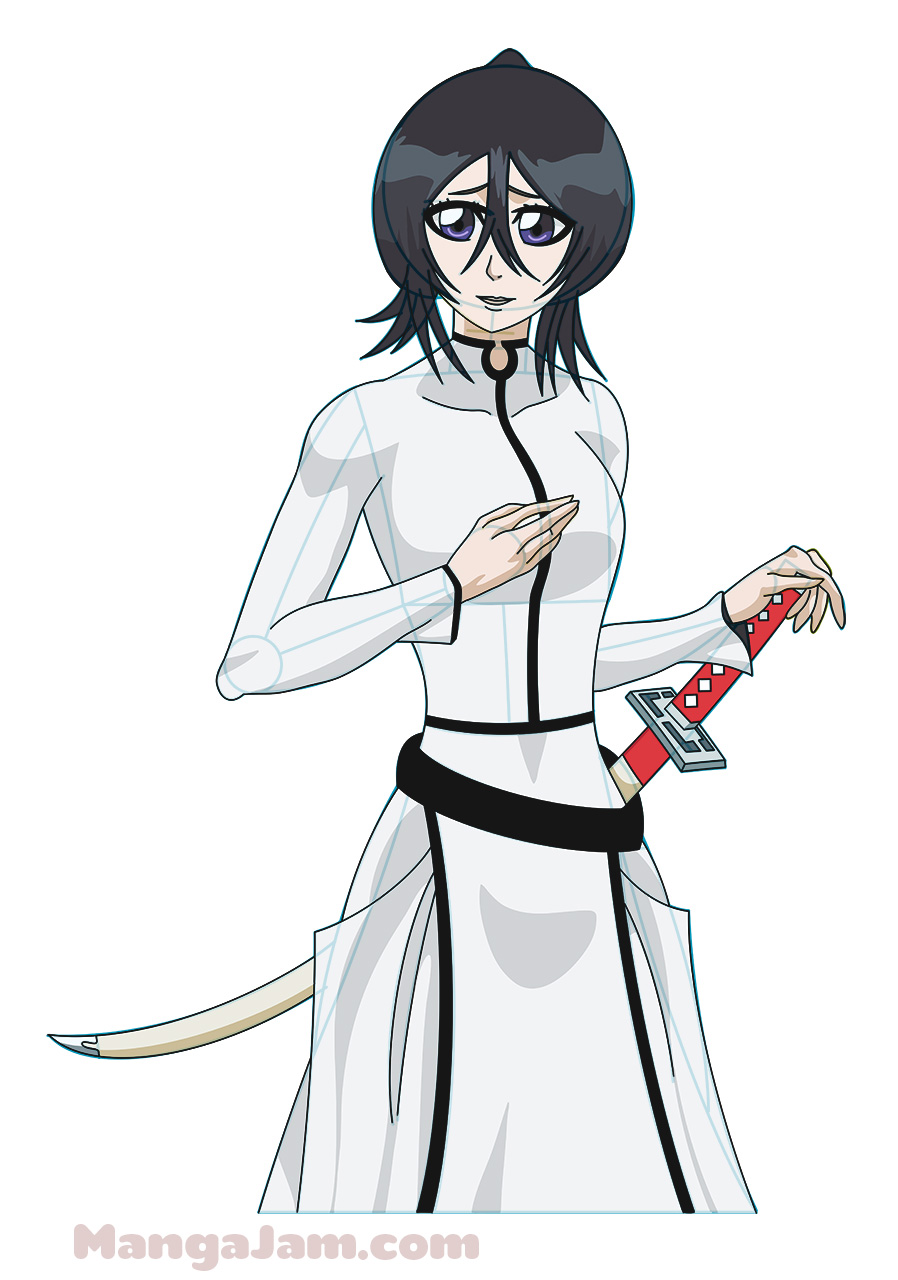
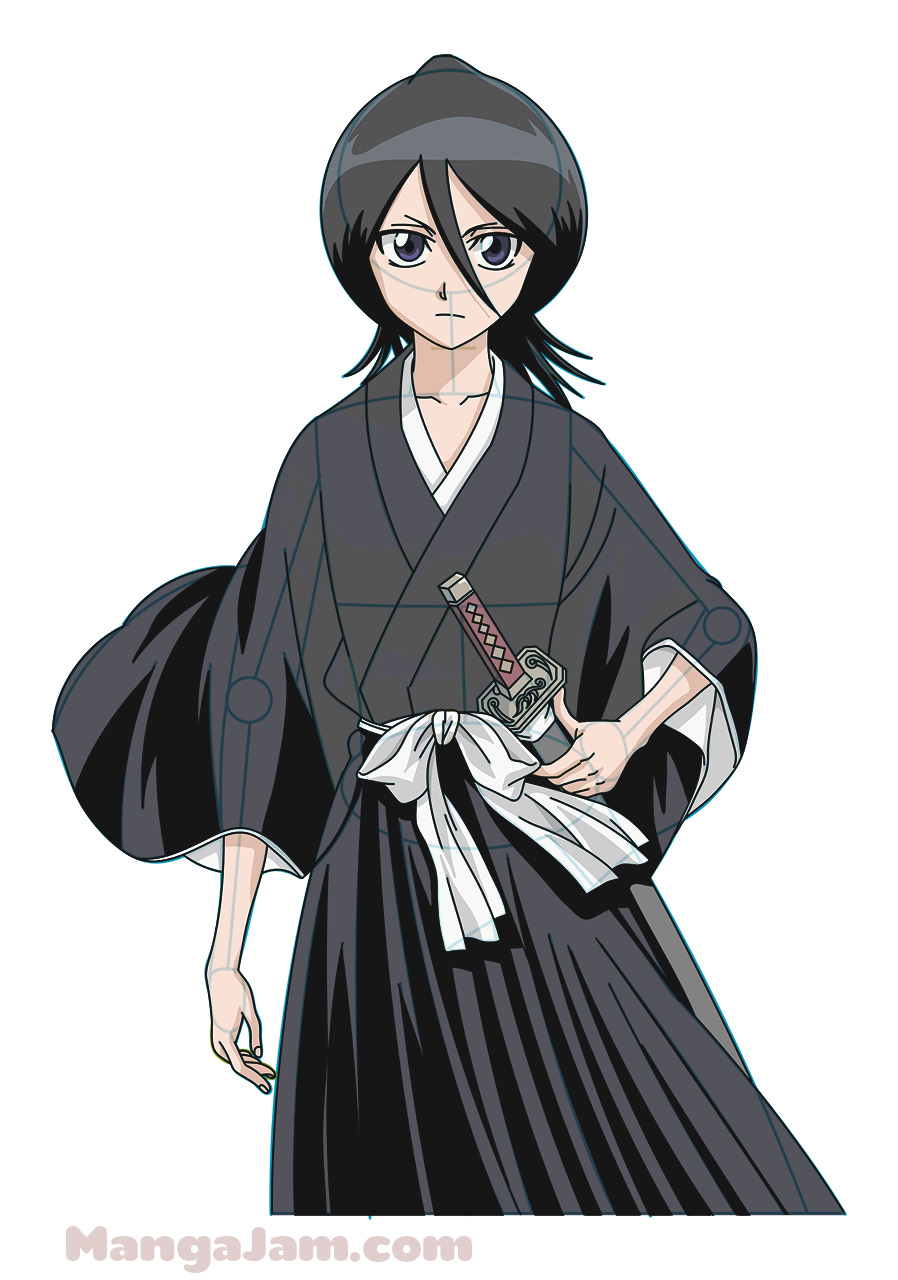
Welcome back, mangakas! Today on How to Draw Manga our tutorial will be on Rukia, the wicked Soul Reaper from the Bleach manga series. Along with her human companion, Ichigo whose tutorial you can find here, Rukia battles the evil spirits known as Hollows. Despite her small appearance Rukia turns out to be quite the Reaper, using all of her creative spells, so much so she eventually becomes the leader of her squad! If you’re interested in drawing other Bleach manga characters be sure to click the Bleach tag in the tag cloud on the right for all of our Bleach manga drawing tutorials. Let’s get our pencils and kneadable eraser ready, and let’s draw Rukia.
Step 1
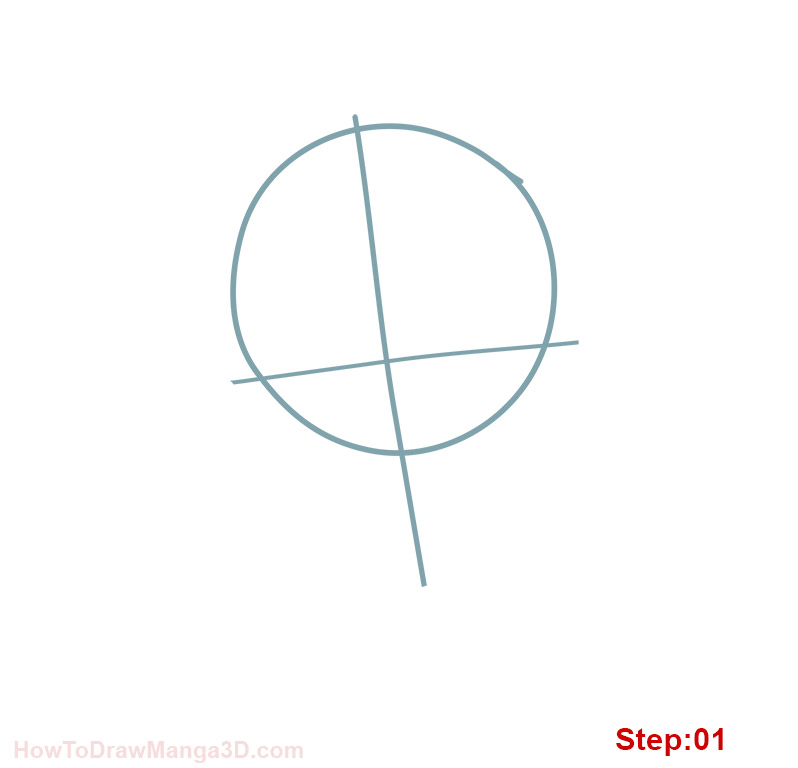
Step 1: Returning mangakas will already know that the blue lines you see in this tutorial are all construction lines and we will be erasing them in later steps, so be sure to draw the blue lines you see in pencil so they can be easily erased or lightened in later steps. We’ll save our black pen for our final lines which you’ll see in black later at the end of the tutorial. Also, as you’ll notice from the final drawing, we’ll be drawing just her head in this tutorial today and Rukia’s looking at us nearly in profile. We’ll begin with our head circle placed near the center and fairly large.
Step 2
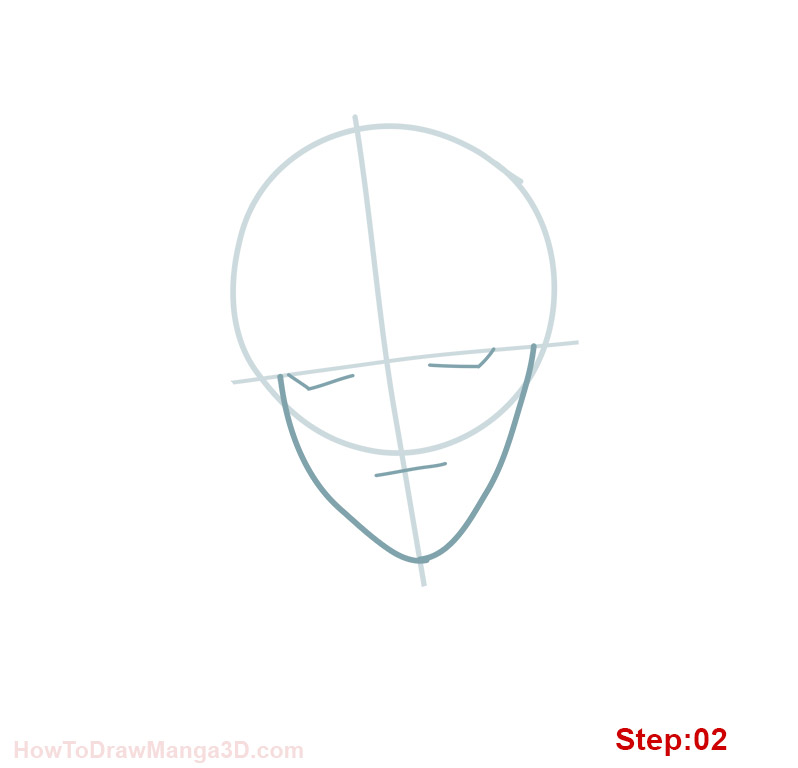
Step 2: Next, we’ll draw our center and eye lines to help us locate and fix Rukia’s features. The eye line should curve upward slightly and start about a little more than half way up the head circle on the left. Imagine the equator and tilt of the earth and you’ll be pretty close. The center line is on the far right of the head circle and is longer than the circle is tall.
Step 3
Step 3: Now that we’ve got our guiding lines in place, let’s start drawing some facial construction lines. In this step, we’re working on Rukia’s chin. We’ll draw a line from just above where the eye and center lines meet curving outward and down to the bottom point of the center line. Next, draw a line from that point that curves back and upward to a point inside the head circle.
Step 4
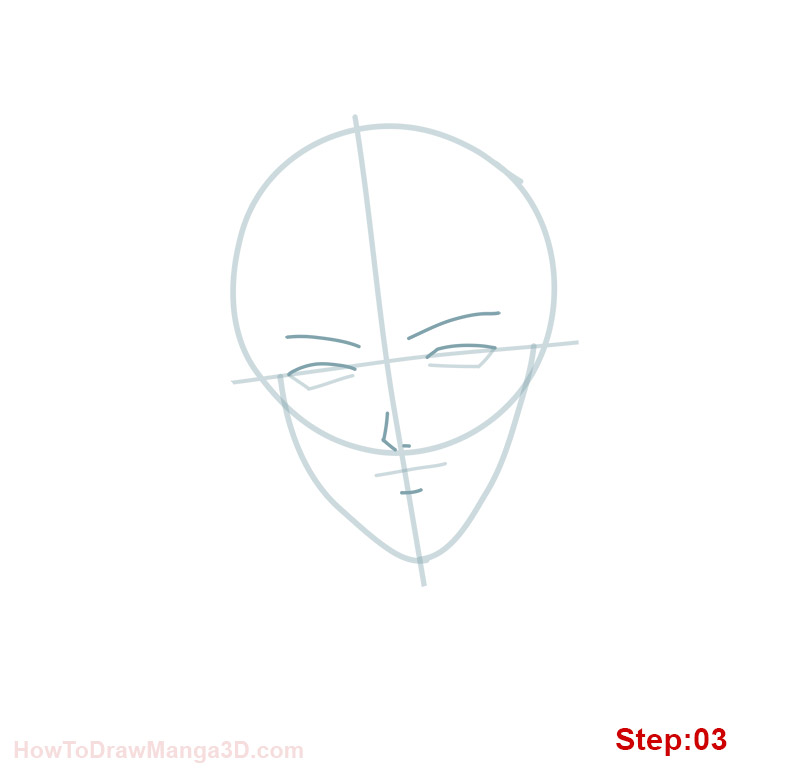
Step 4: Great job mangakas! Time for some more features. Here, we’ll start with the eye, the top of which will just touch the eye line. Draw a shovel like shape for the eye making sure the corner is pointy. Next, we’ll add a large “tent” like shape over the eye to outline Rukia’s hair. Start at just about the point where the eye and center lines meet. Next, we have to draw the basic outline of the hair shape. In the front, it mostly follows the head circle, the top is mostly straight, and the back gets that 60’s female flop shape. Once you’ve got it, we’ll move. Rukia might look a lot like Iron Man at the moment, but I promise we’ll change that soon!
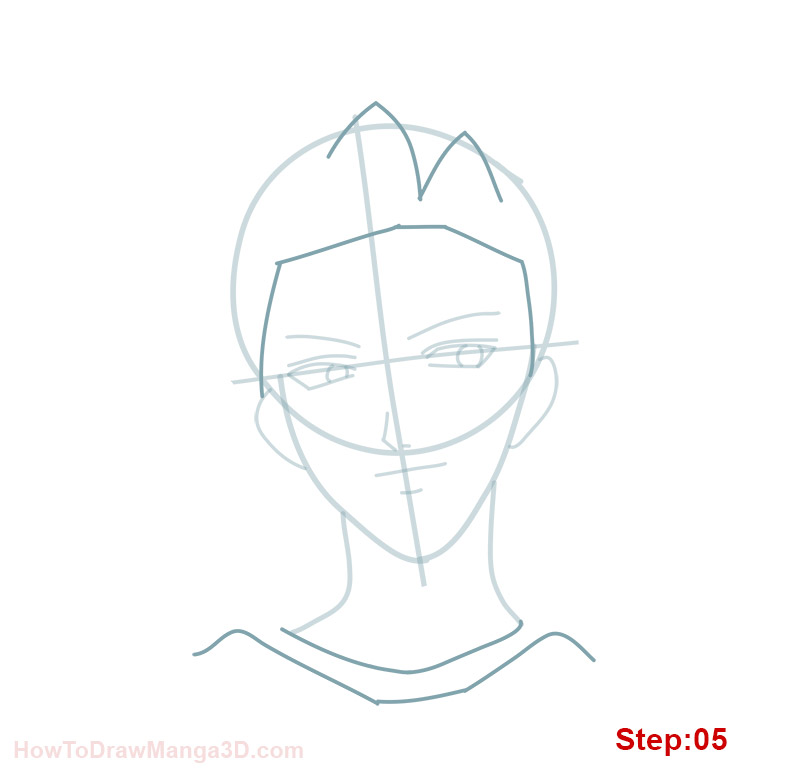
Step 5
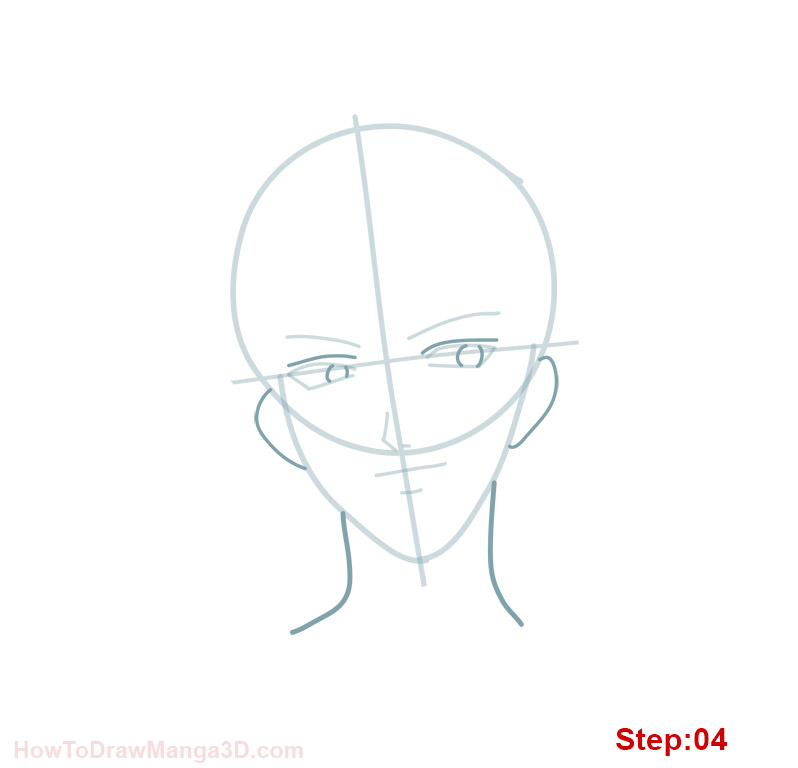
Step 5: Rukia’s a young girl, pointy nose and the characteristic large doe eyes. In this step, let’s start with her mouth, though, drawing a small pointy triangle under the head circle but inside the jaw/chin shape we drew in step 3. Then, we’ll move up to her eye. Draw a half-moon shape in the corner on the left of her eye. Then a small line with 2 very small spikes in the corner on the right for her eyelashes. Next, we’ll draw the two crescent shapes over the eye, the lower for her lid the upper one for her eyebrow. Once we’ve got these features in place we can draw Rukia’s pointy nose, which should start from just below where the jaw line and the head circle meet. The upper line (bridge of her nose) curves inward slightly before coming to a point, the lower line is nearly straight. Notice, there is a small bump where her mouth is.
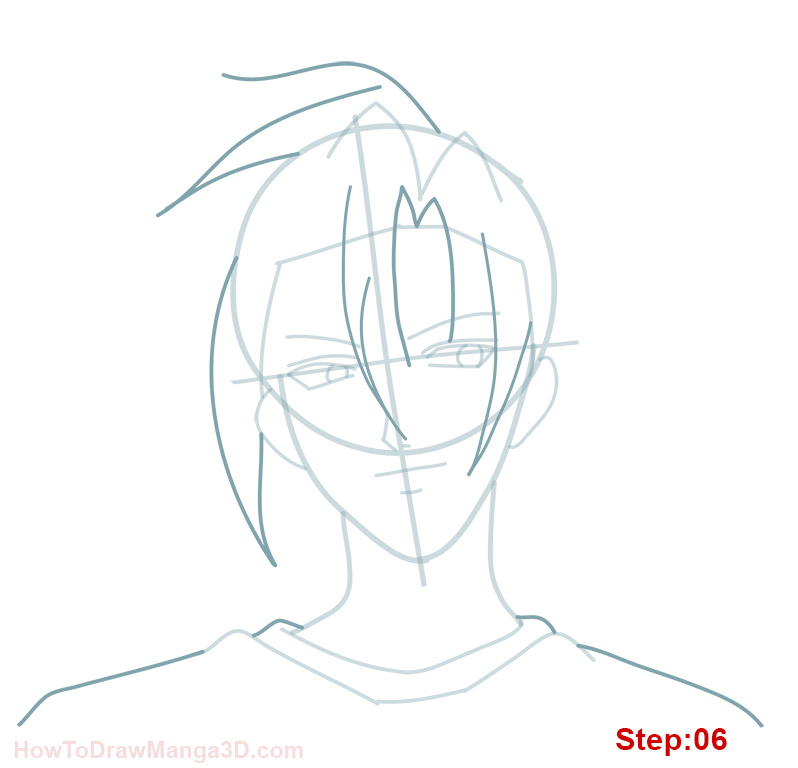
Step 6
Step 6: You might want to take the time to lighten any construction lines you’ve made so far. In face, feel free to do this whenever you’d like. Rukia has got a signature hair style that involves a long single spike always hanging down in the middle of her face. So here, we’ll add that spike starting from the head circle just above and to the right of the nose. Before moving on, we have to draw the three spikes to the back of her hair fanning outwards and ending near the back of the jaw.
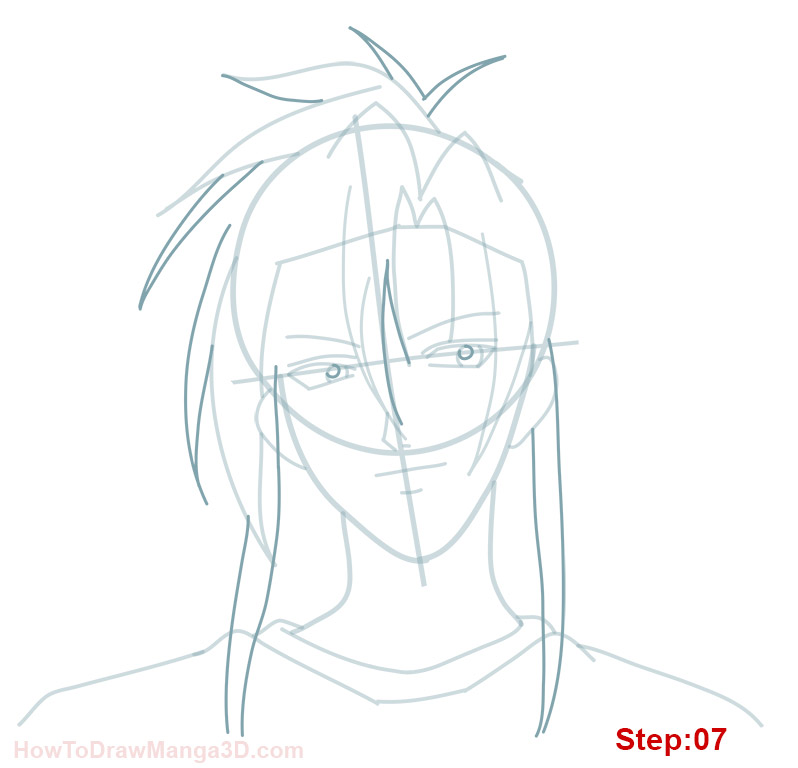
Step 7
Step 7: We won’t be finished with Rukia’s hair till the very end. In fact, in this step we’ll add another two pronged spike for her hair which you’ll notice covers her ear, so no need to draw that. The prong on the right is longer and thicker than the one on the left. They should touch the point where the hair and jaw meet as well as the tent shape in the center of the head circle. Give it a shot.
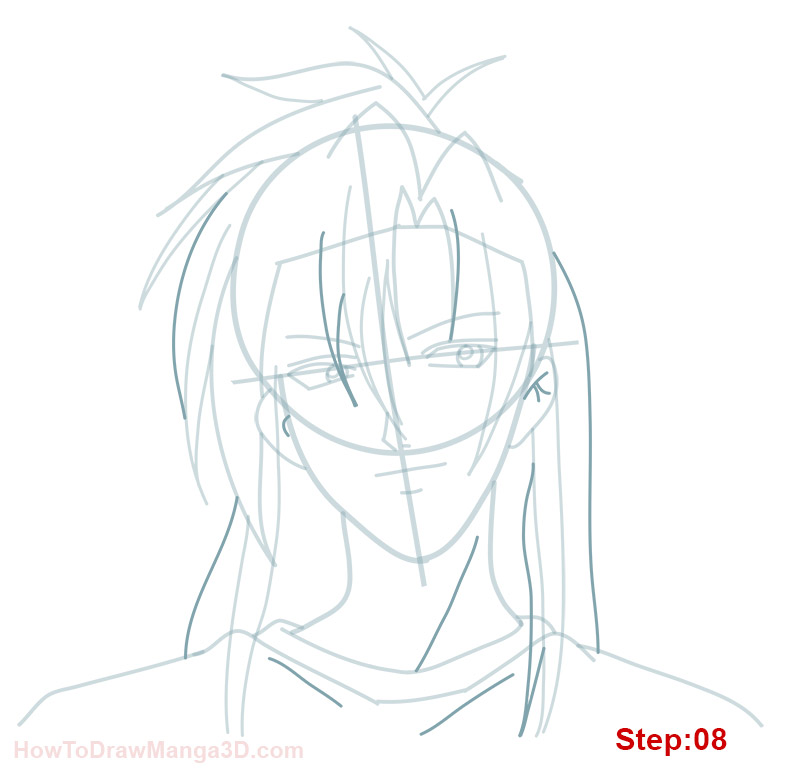
Step 8
Step 8: Now, from the bottom of the thinner hair prong we drew in the previous step we’ll draw a straight diagonal line. Above that, we’ll draw two lines for the top of her neck.
Step 9
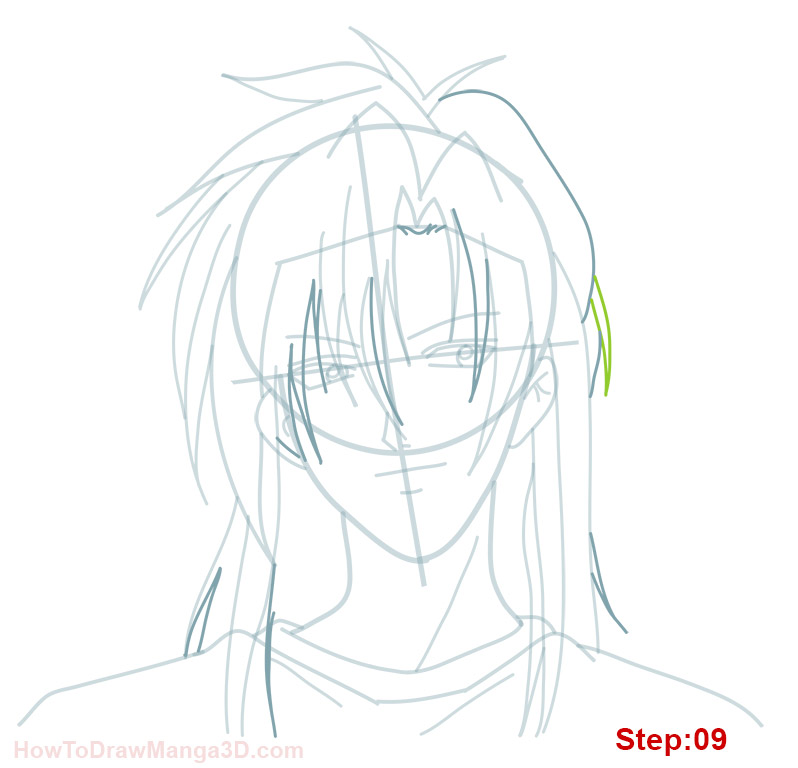
Step 9: Ok, mangakas, this step is for some fine detailing to the eye. Her eyes will shimmer when we’re finished so we have to give her the lines inside the eye to see the effect. Based on the half-moon shape we have there already, we need to add a very small half circle touching the top of the pupil. And then two small lines coming off of this smaller upper half circle. This will be for a reflective spot in her pupil.
Step 10
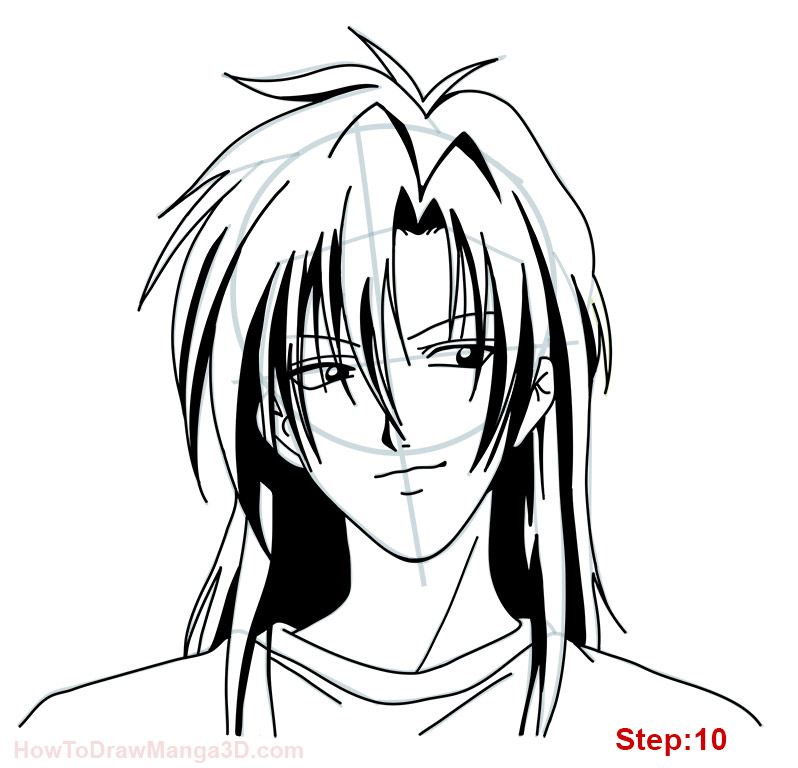
Step 10: Great job, everyone. Except for one final shape, we’re all done. It won’t be easy, but we’re going to give it our best. We’ll draw two sets of construction lines here. They should be simple parallel lines that run through the middle of Rukia’s hair on the left and also on the right.
Step 11
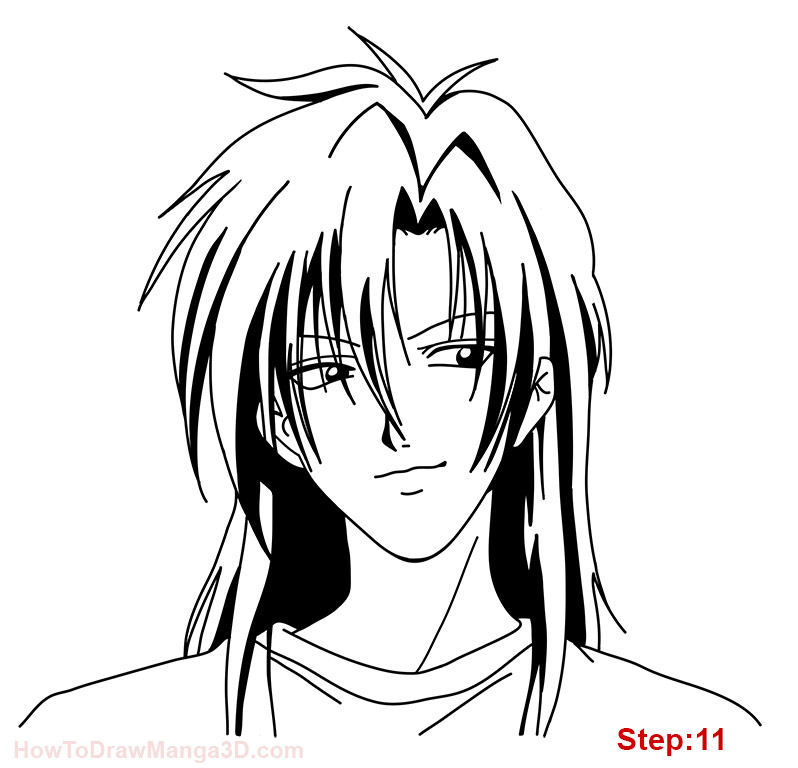
Step 11: The construction lines we just drew will guide us to drawing the lighting like shapes on her hair that mark the reflection from the light, a glossy spot. Don’t despair if you don’t get it the first time, you can always erase and give it another shot. If you’ve every seen sound waves on a machine, or something like that, that’s the shape we’re going for. Notice that about halfway through Rukia’s hair the “static” lines are a little longer and lower. Also, we should do the same thing to the space on the right.
Step 12
Step 12: Alright, that was a tough one. So just a last easy step and we’ll move on to our final lines. We just need to thicken the lines under her nose and mouth ever so slightly. Got it? Great.
Step 13
Step 13: It’s time to lighten all of our construction lines until they are just barely visible. Then, we’ll take our pen and go over our outline for our final lines. We also should go over the “static” lines in her hair. Also, notice that the lines under the nose, the bottom of the chin and just at the mouth are slightly darker and thicker than the rest of Rukia’s face.

Step 14
Step 14: Using our black pen, we’ll do some filling and inking here. Go ahead and fill in Rukia’s luscious black hair leaving the static lines empty to give us that glossy shine. Also, we’ll fill in the triangle on her neck. Let’s not forget to fill in the pupil and the eye brow leaving the eye lid empty.
Step 15
Step 15: There she is mangakas, Rukia, ready to reap some bad ass Hollows! If your goal is to become a great mangaka make sure to draw Rukia again from memory. Then compare the final drawing with the original and correct any mistakes you might have made. Try once again from memory. This is the best way to build a huge library of shapes that you can use in the future for your own manga characters.
Draw with passion! -_^ Hiroshi


5 comments
Comments are closed.