
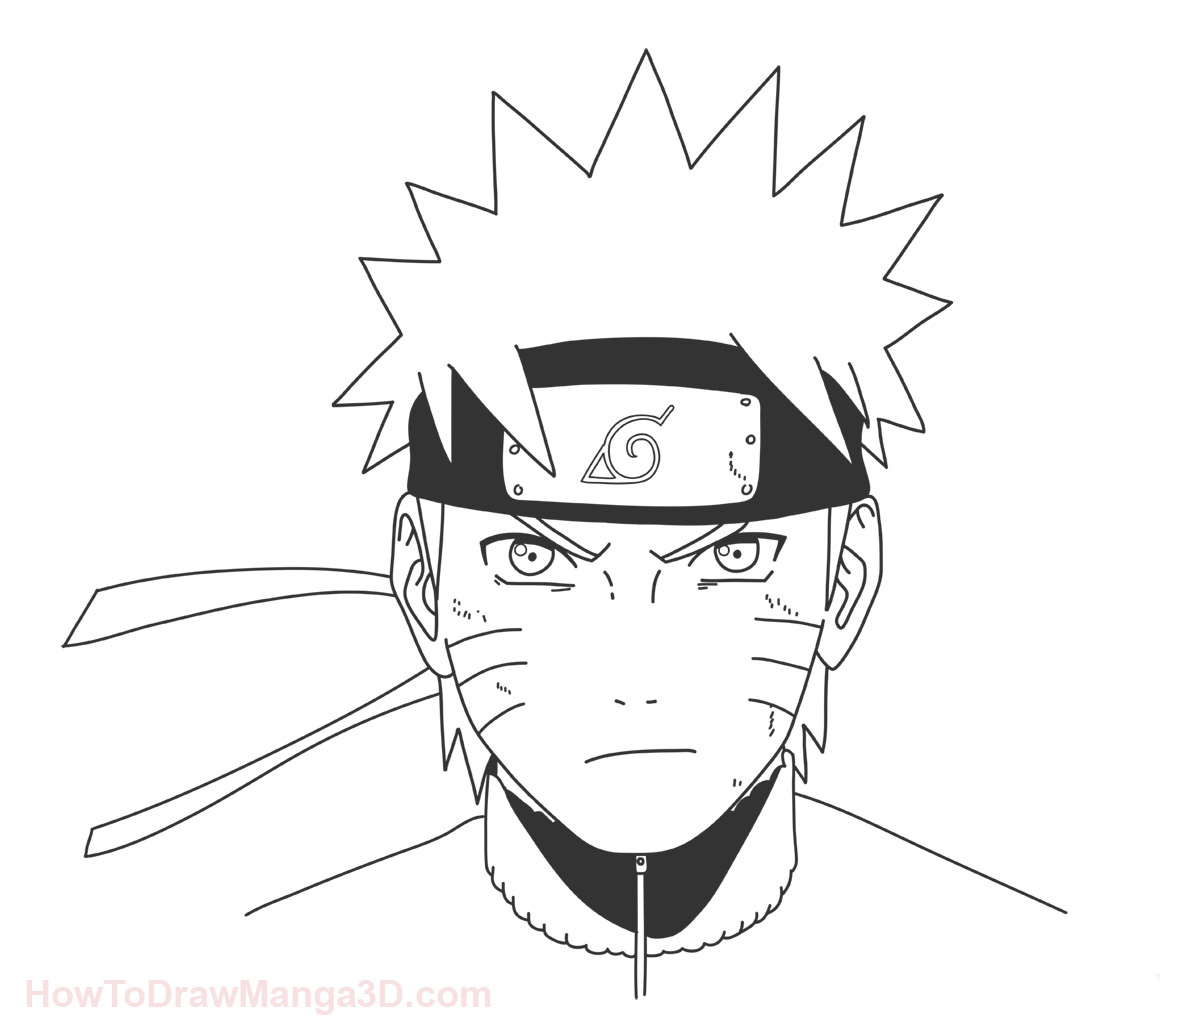
Let’s learn how to draw Naruto Step by Step from Naruto today! Naruto Uzumaki (うずまきナルト, Uzumaki Naruto) is a shinobi of Konohagakure. He became the jinchūriki of the Nine-Tails on the day of his birth — a fate that caused him to be ostracised by most of Konoha throughout his childhood. (from naruto.wikia.com)
Step 1
As always all the blue and green lines are just construction lines and will be erased later so do not push on your pencil too much ^_^ I will try to be super efficient with the text so will only describe steps that require some explanation.
Make sure to leave enough free space on paper for next steps. You can see how much space you will need from the size of the paper on this picture.

Step 2

Step 3

Step 4

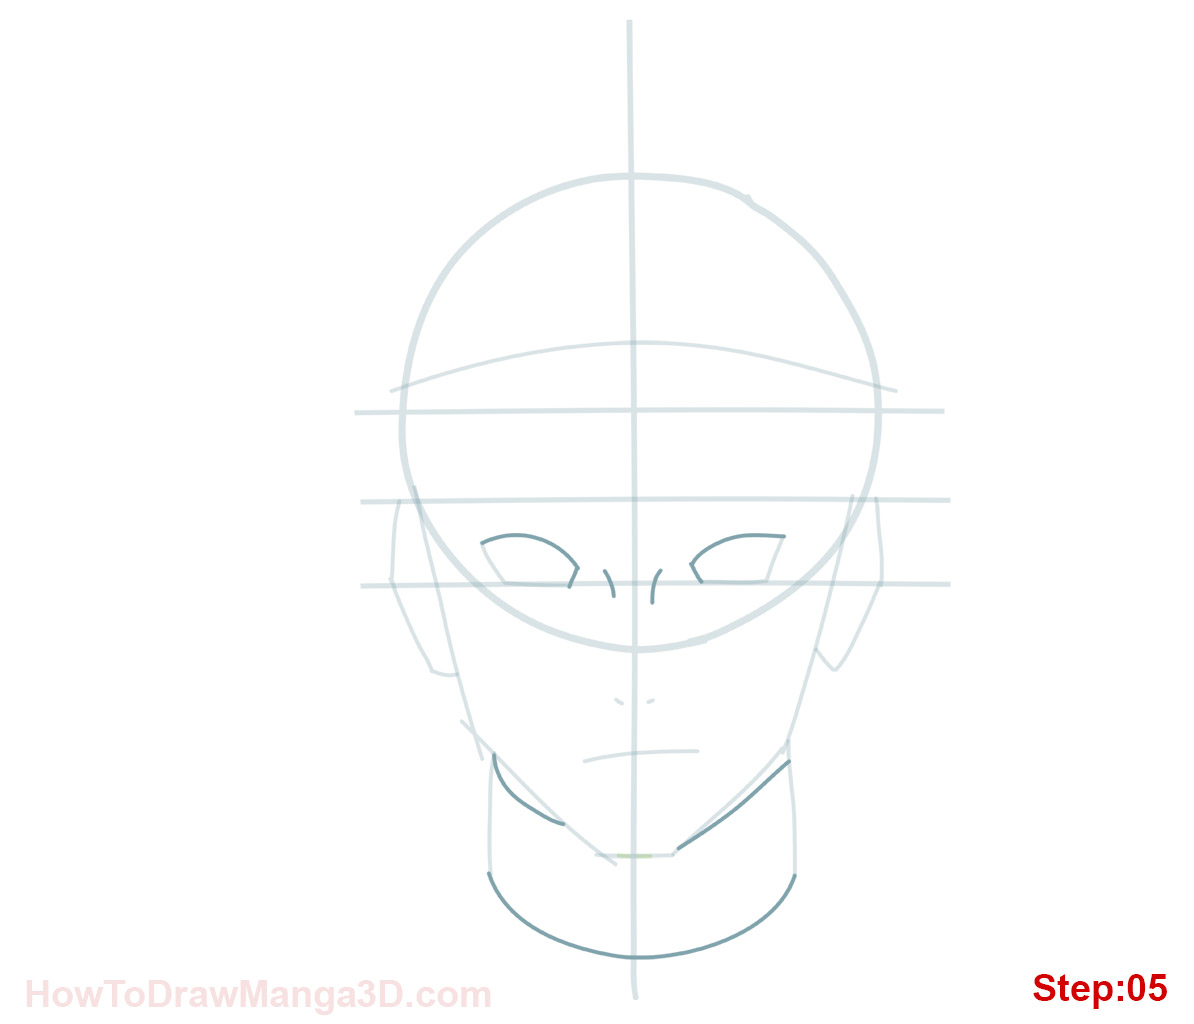
Step 5
Step 6

Step 7

Step 8

Step 9

Step 10
Lighten all the construction lines by “stamping” the kneaded eraser on the paper. Make sure to refer to the picture bellow as you need to ink only some parts of the construction lines.

Step 11
Wait till the ink is nice and dry and erase all the construction lines.
If your goal is to become a real Mangaka and design your own manga characters make sure to try to draw Naruto Step by Step from memory several times. Always compare the drawing to the original and correct any mistakes you see. Do this till you are happy with the result. It doesn’t have to look exactly the same, don’t sweat the details. The point is that you get the main shapes right and that it looks good. This is the best way to build a huge library of manga shapes in your memory that you can use to draw and design your own manga characters ^_-.
Draw with passion! ^_^
Hiroshi


14 comments
??? ??? ????? ??????? ???.
? ????? ???????? ?????/?????.
??? ???????? ??? ???? ? ???? http://drawdoo.com/draw/naruto/
?????? ?????????? ?????? ??? ?????????
I’m starting this today, wish me luck.
Nice
Comments are closed.