

Click here for more One Piece tutorials
Another One Piece tutorial for all you One Piece fans out there is here! ^_^ Nami the beautiful pirate thief who converted into the navigator of the Straw Hat Pirates. She is pretty easy to draw so it should be a lot of fun even for beginner mangakas -_^. If you’re interested in other One Piece manga tutorials just click on the One Piece tag in the tag cloud on the right side of the page. Let’s get ready and begin our Nami tutorial.
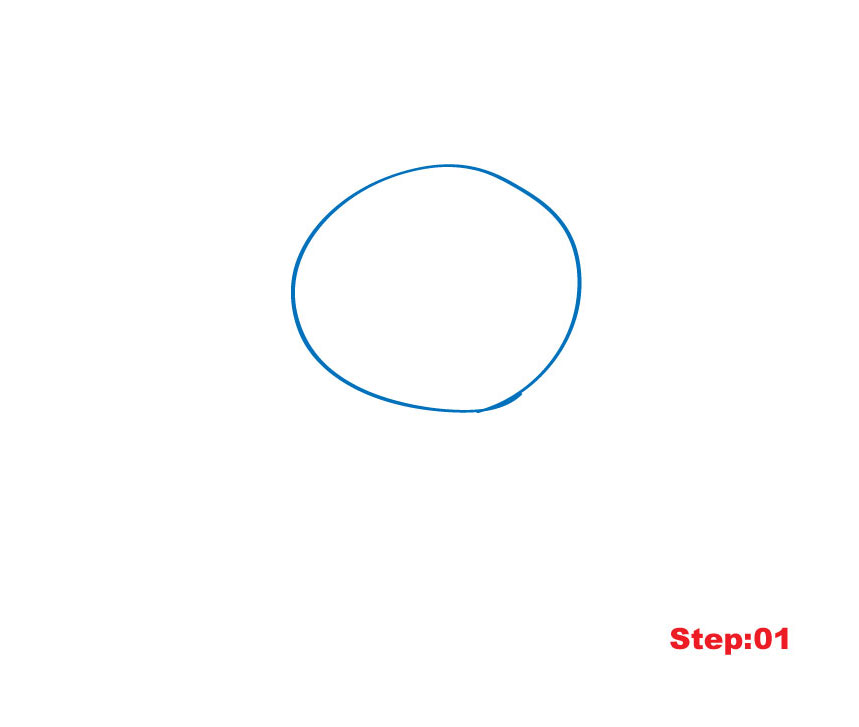
Step 1
Step 1: LetÂ’s jump right in by starting with a head circle in the middle of your paper. DonÂ’t push too hard on the pencil as this is just a construction line and will be erased later just like all the blue lines in this tutorial. Leave enough free space around to draw the rest of Nami’s face.
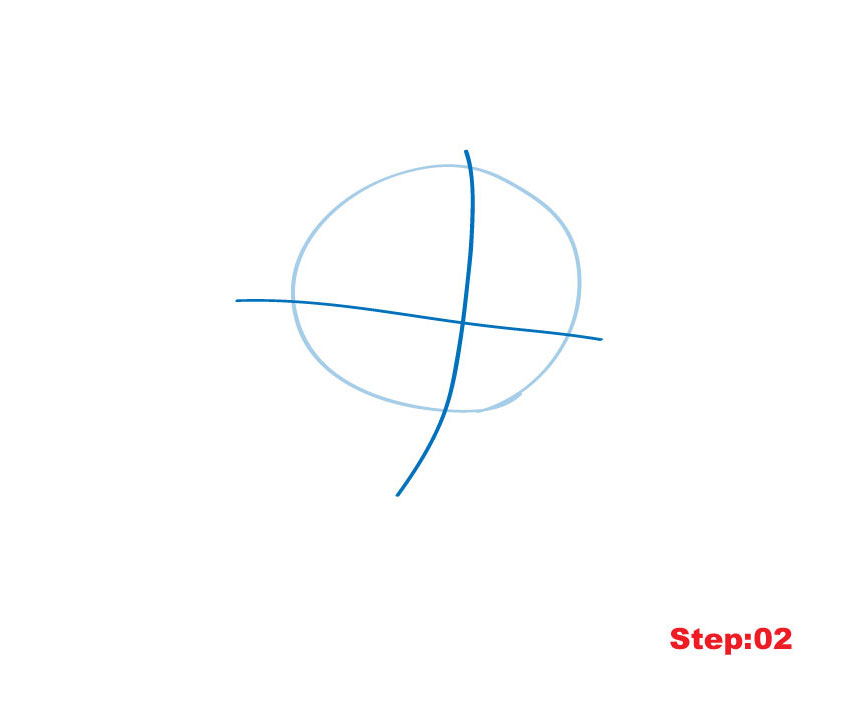
Step 2
Step 2: Here we go with some more construction lines. Draw the eye line slightly under the center of the head circle and make it slope to the right. Next draw the perpendicular center line slighty curved to the right and a little off the center to the right too. These lines will help us situate the eyes, nose and other facial features.
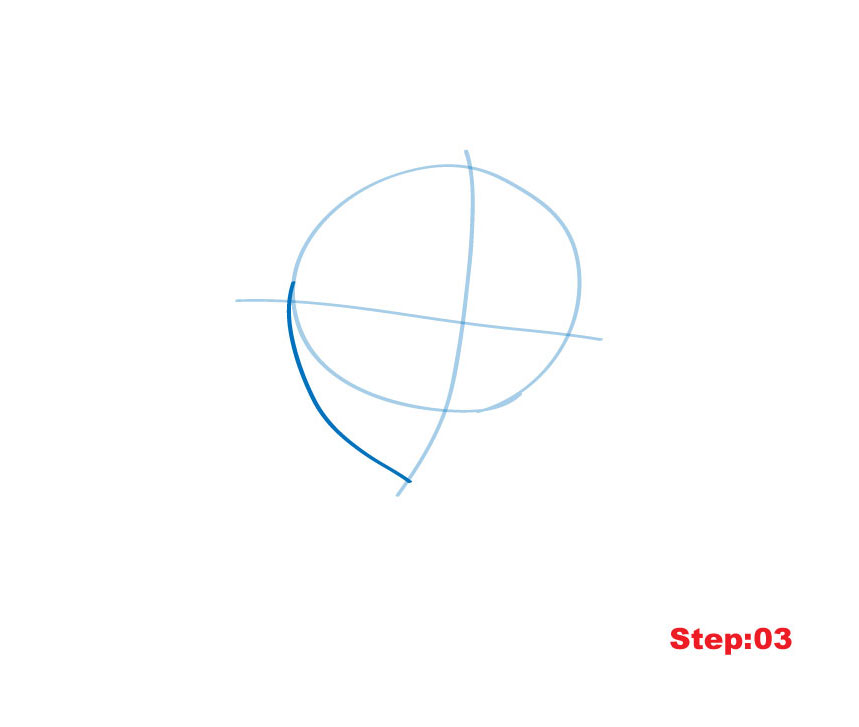
Step 3
Step 3: Next, we should draw the jaw line on the left, connecting the head circle above the eye line and crossing the bottom of the center line.
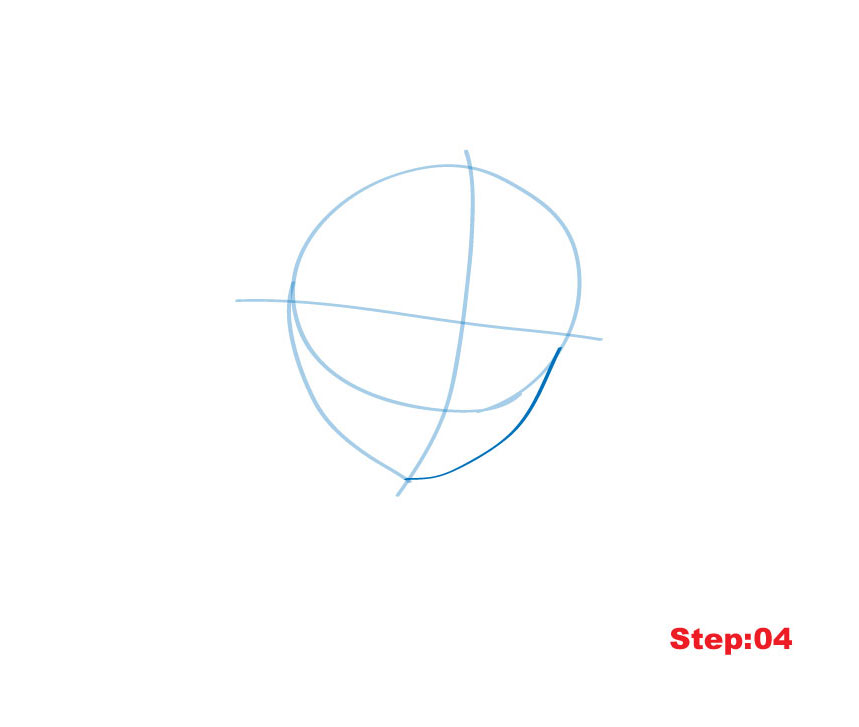
Step 4
Step 4: Here weÂ’ll do the same thing for the jaw on the right, this time starting below Nami’s eye line which will give it the 3d appearence weÂ’re going for.
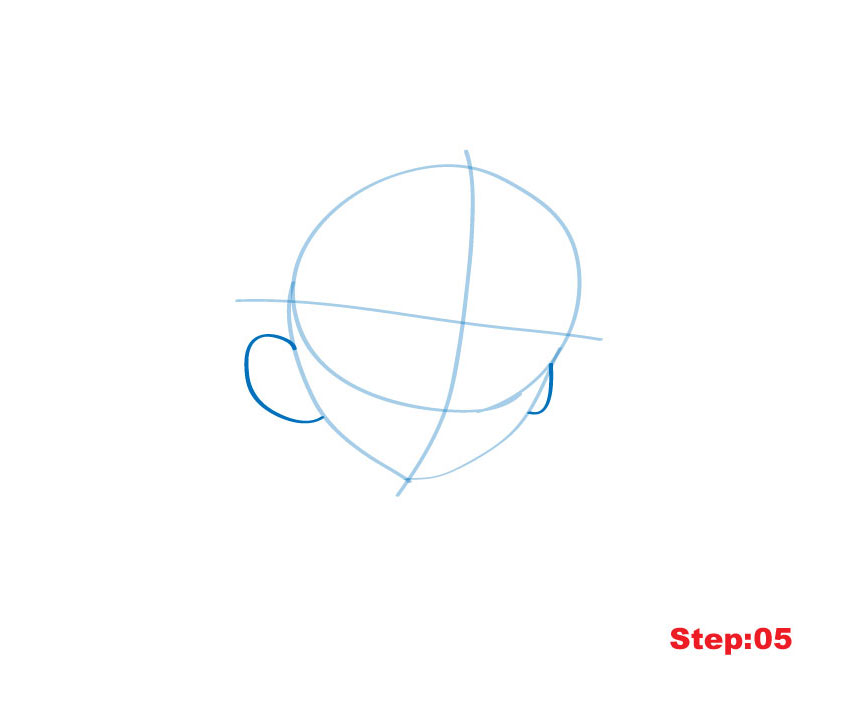
Step 5
Step 5: Let’s draw Nami’s ears here. The one on the right is further away and partly hidden behind the head so it will be smaller folowing the Overlapping and Size 3D rules. You can find more info about these rules here: 3D drawing principles.
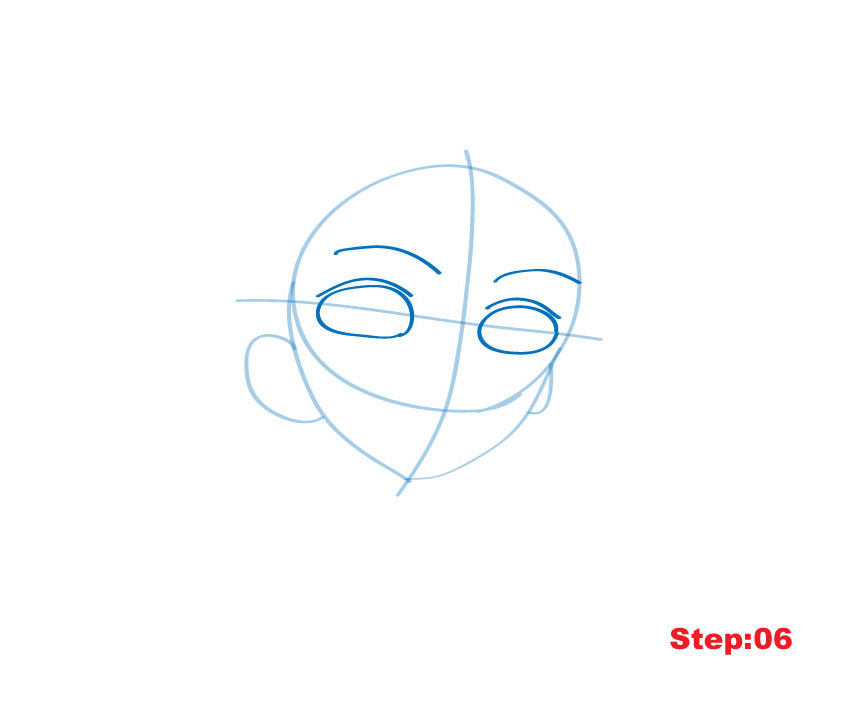
Step 6
Step 6: Time for the giant bright eyes of Nami. WeÂ’ll draw the construction lines for the eyes on the eye line now, again the one further away from us is smaller (size 3D principle). Add the brows and eyelids here. The eyes should be split in half on the eye line and the right eyebrow line should touch the head line on the right.
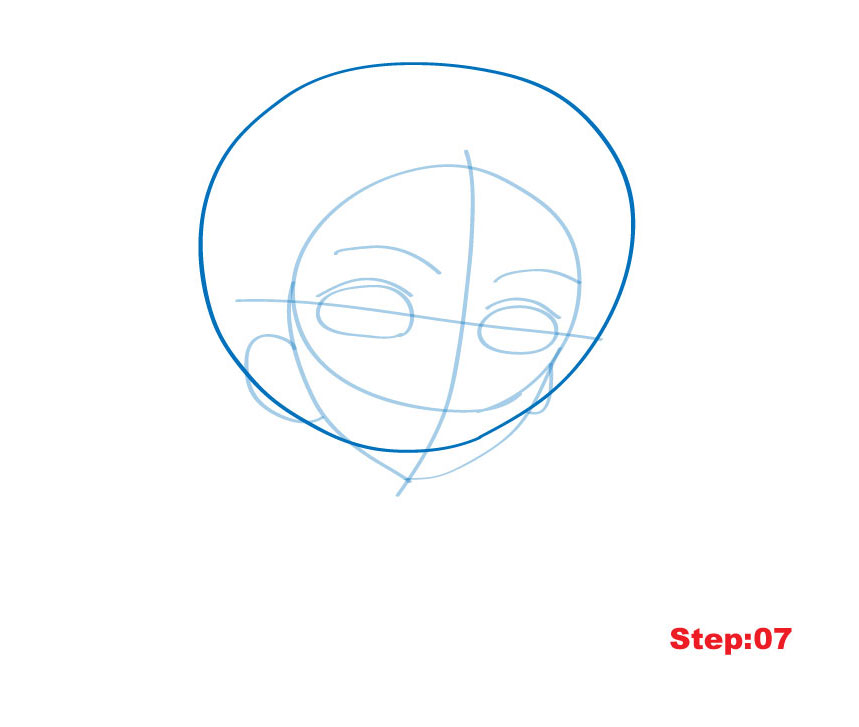
Step 7
Step 7: Time for NamiÂ’s hairdo 🙂 WeÂ’ll draw a large oval shape around what we have drawn so far. The hair construction line should overlap the jaw and ears and, just like the ears, it should be slightly bigger on the right than on the left.
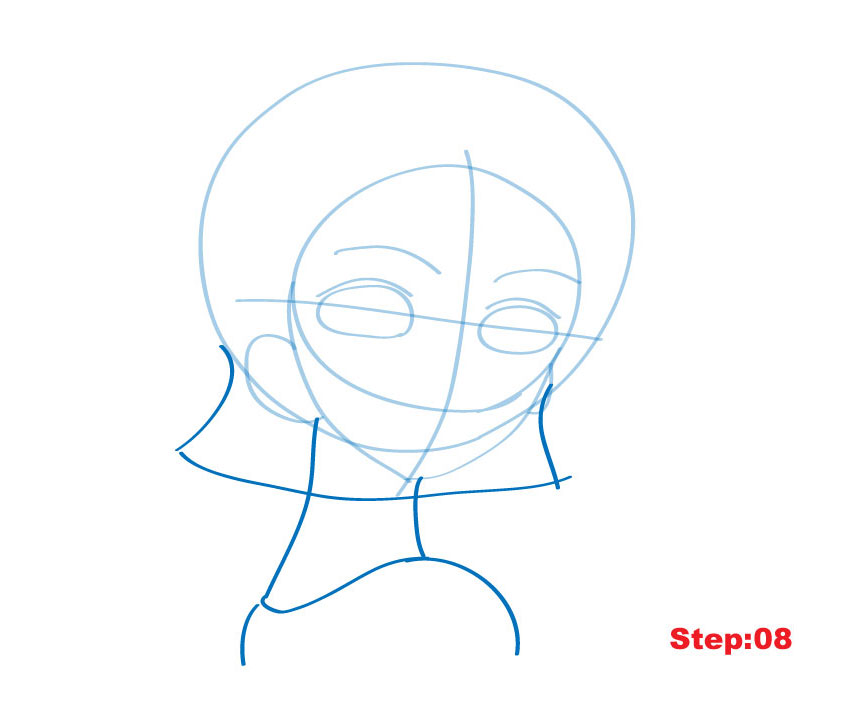
Step 8
Step 8: Nami has got kind of a Brady Bunch style hair cut so in this step weÂ’ve got to give her that retro look. But first we should draw the neck and part of Nami’s body. The neck lines begins just at the ear on the left and just to the right of the center line. These should connect to the body shape which is drawn just with a curved line from the back of the neck that rises up to meet the right neck line. Lastly, draw the bottom of the hair connecting to the bigger hair shape.
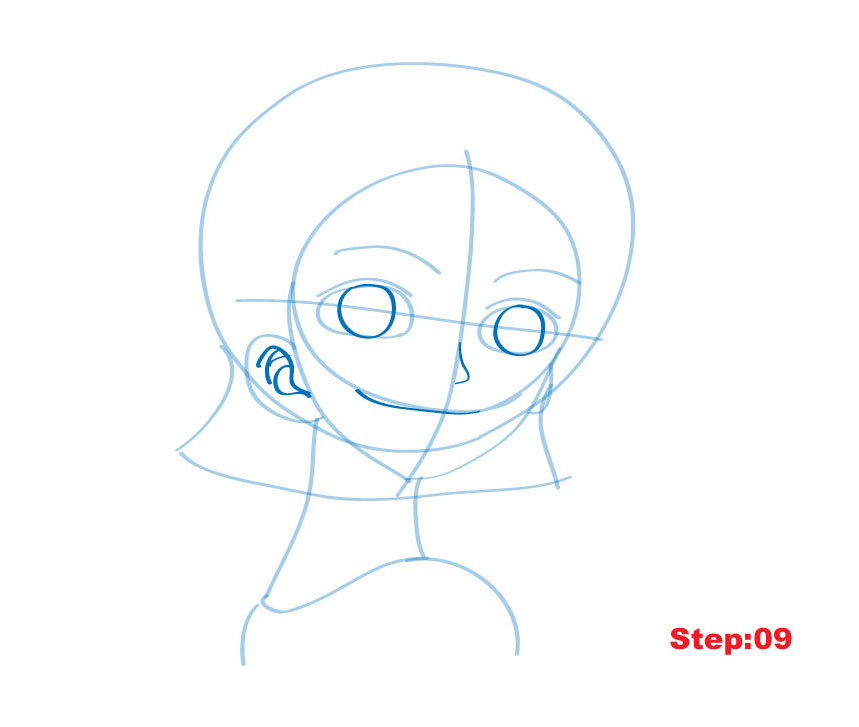
Step 9
Step 9: Now an easy step. WeÂ’ll just draw in the irisis which should touch the eye line and add a little dimple nose sitting on the center line. The mouth line is again longer on the left side closer to us (size 3D principle). DonÂ’t forget to add details to Nami’s cute ear ^_-.
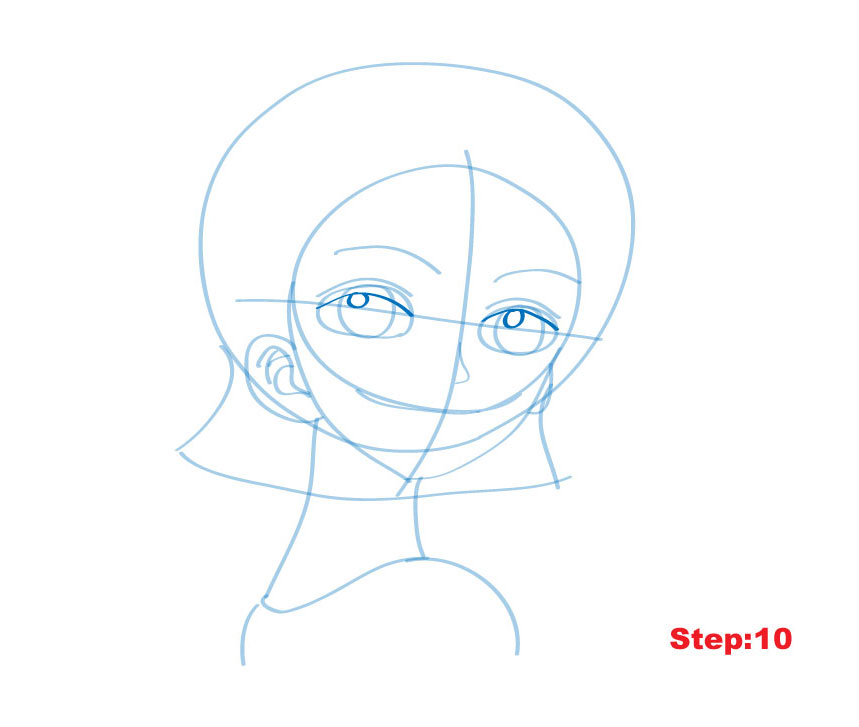
Step 10
Step 10: This one will be nice and easy. Just a line through the eyes to define the bottom part of her eyelids and then a nice little circle for the pupils in each eye whose bottom touches the eyeline.
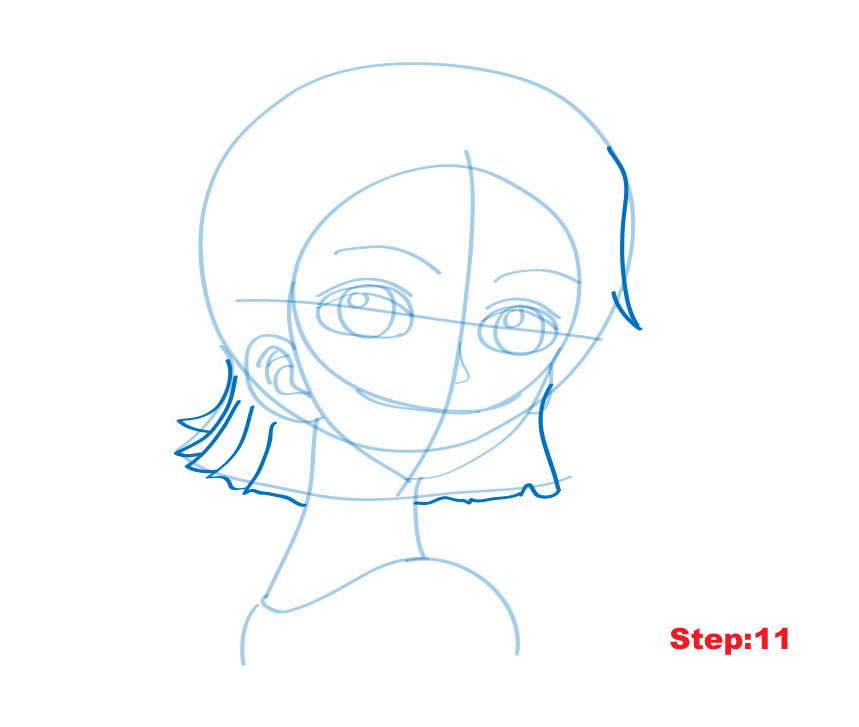
Step 11
Step 11: Ok, time to be Nami’s hairdresser. The bottom length of hair on the right will be a single piece with an uneven bottom line. On the left, things are a bit more tricky. She should get 5 “feathers” on the left side that start as more rectangular but eventually turn into little curved triangles at the very back. Also we can’t forget about the top, so we’ll add a little curved triangle at the top too following the hair outline. ^_^.v
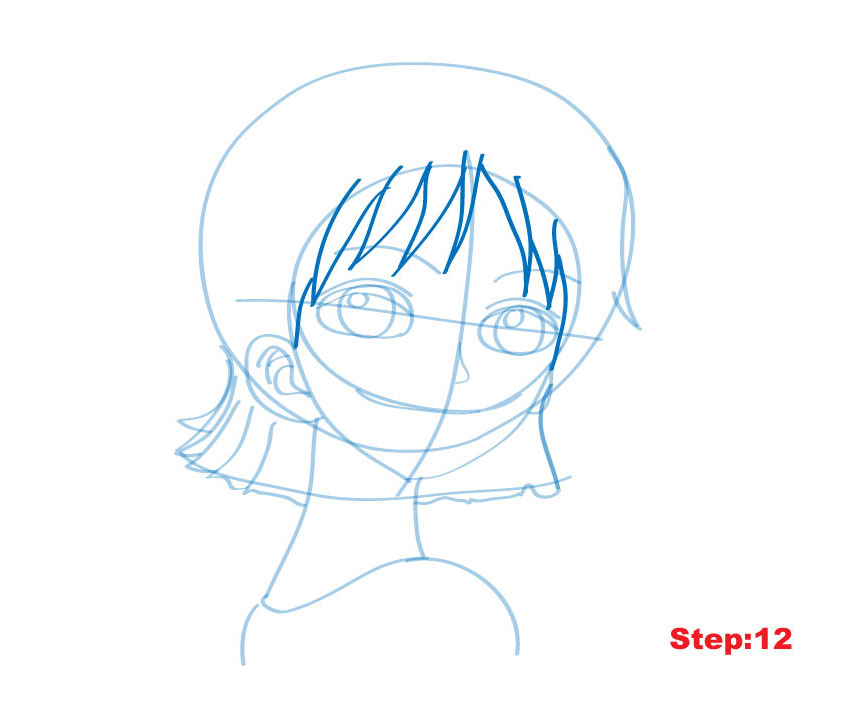
Step 12
Step 12: Well, we’re not done yet. She’s got a full head of hair and we can’t forget about her bangs. Each lock of hair should be a single pience and start and finish just above the face line. Notice that we see more of her hair on the left than on the right as that’s the way she’s turning to face us.
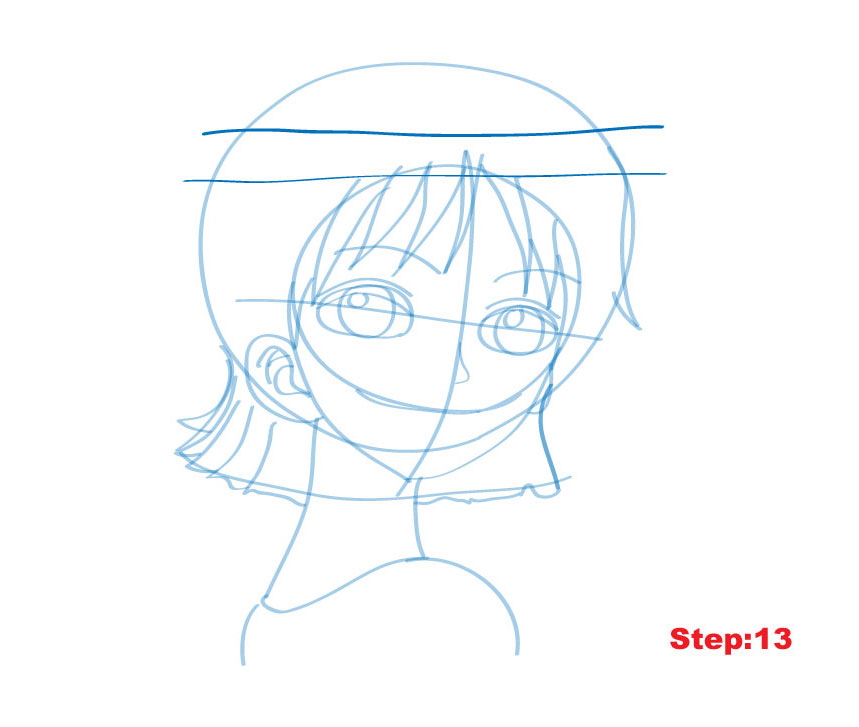
Step 13
Step 13: Now that we’ve got her bangs done we’re going to draw two horizontal lines above Nami’s face to locate the area where her glossy hair reflects the light. The top line should be just about half-way through her hair shape and the bottom line will cut through the head line at the very top.
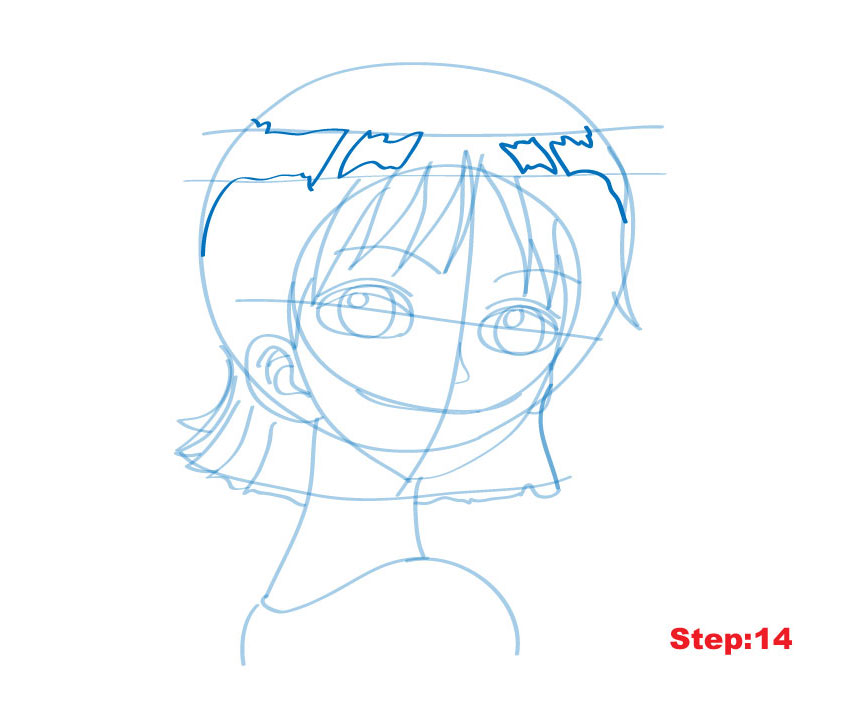
Step 14
Step 14: As I promised, she’s got some glossy hair. We need to place some shapes in this area to represent where the light reflects. The shapes are very irregular, you can follow my example or make some small changes depending on you. ^_^.
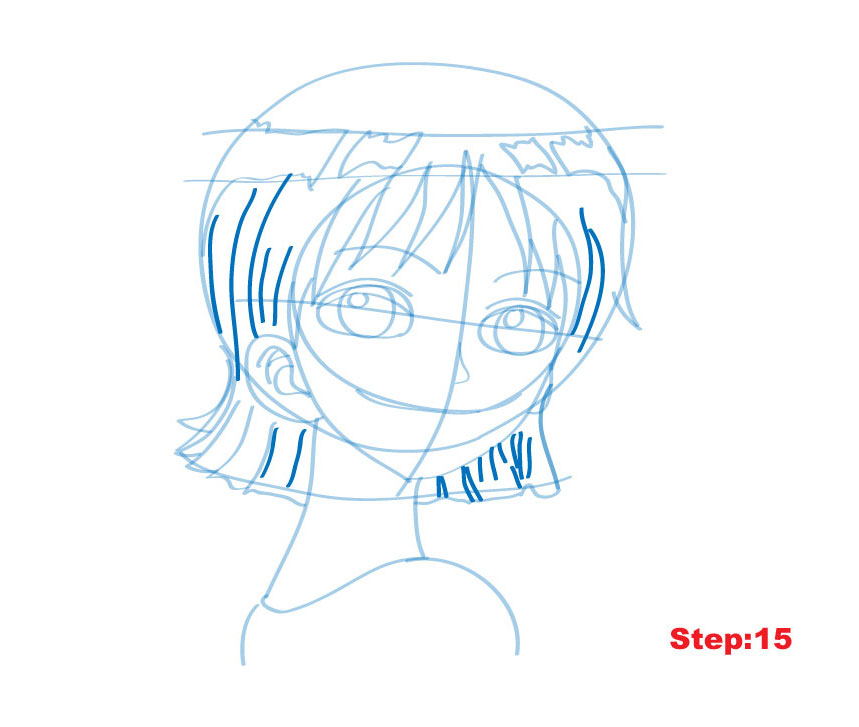
Step 15
Step 15: In this step, we just have to draw in some hair details here. Individual lines are enough, and be sure to add many smaller lines in the bottom right of her hair. If you need to lighten any already drawn construction lines just use your kneedable eraser.
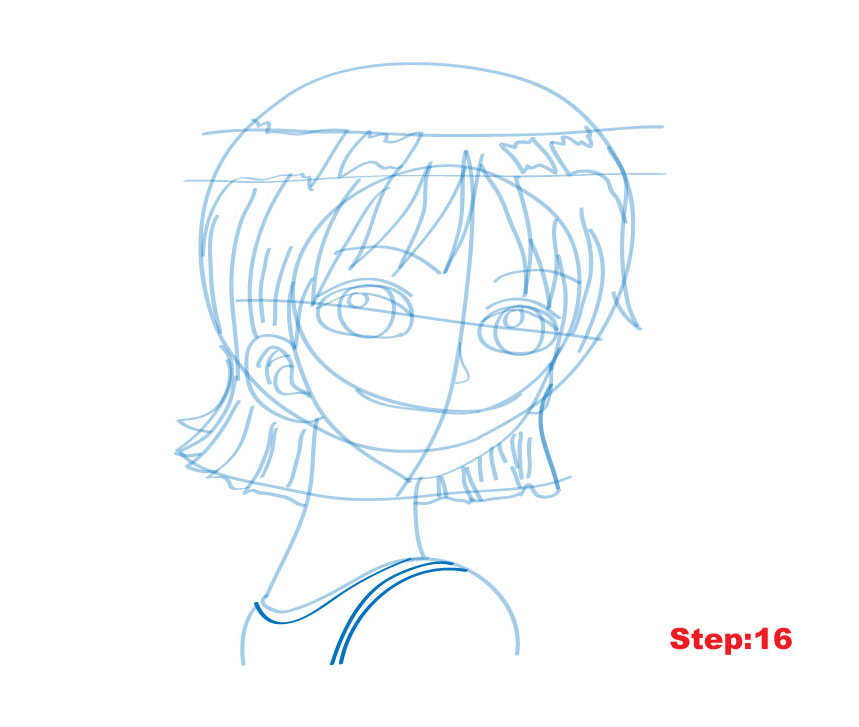
Step 16
Step 16: We’re nearly there, this step will finish up the last of her construction lines. We’ve got to add the details to her tank top. Two lines on the right and one at her neck line should do the trick.
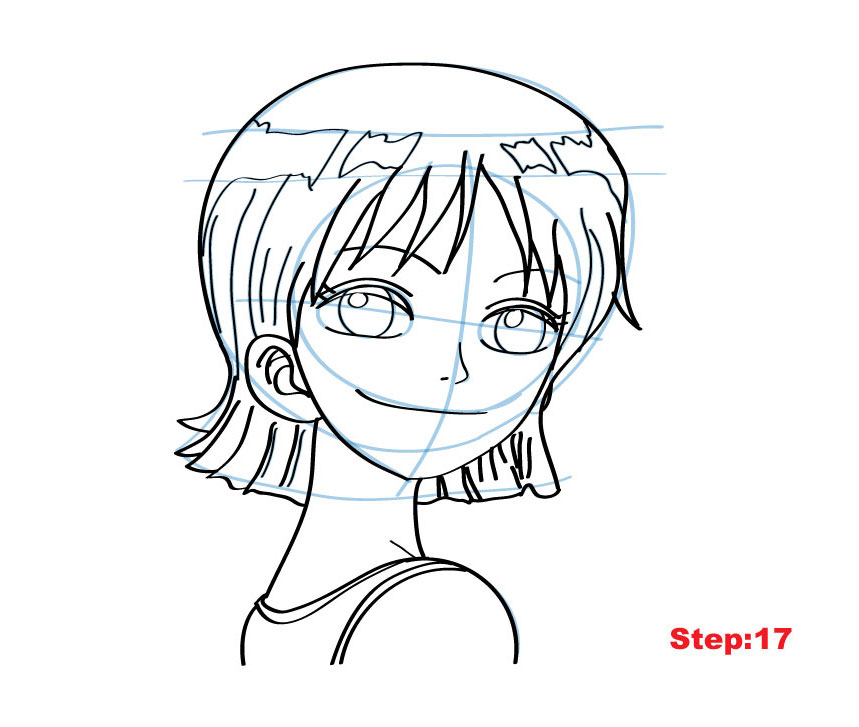
Step 17
Step 17: Now that we’ve finished up with Nami’s construction lines, it’s time to make our final lines in black. Before drawing the final lines in black, we should erase all of the blue construction lines so that they are just barely visible. Using a black pencil go over all of the final lines. Also, it seems I missed drawing Nami’s neck line in the previous step. We can add it here in black, with a little line touching the neck line and her tank top. ^_-.
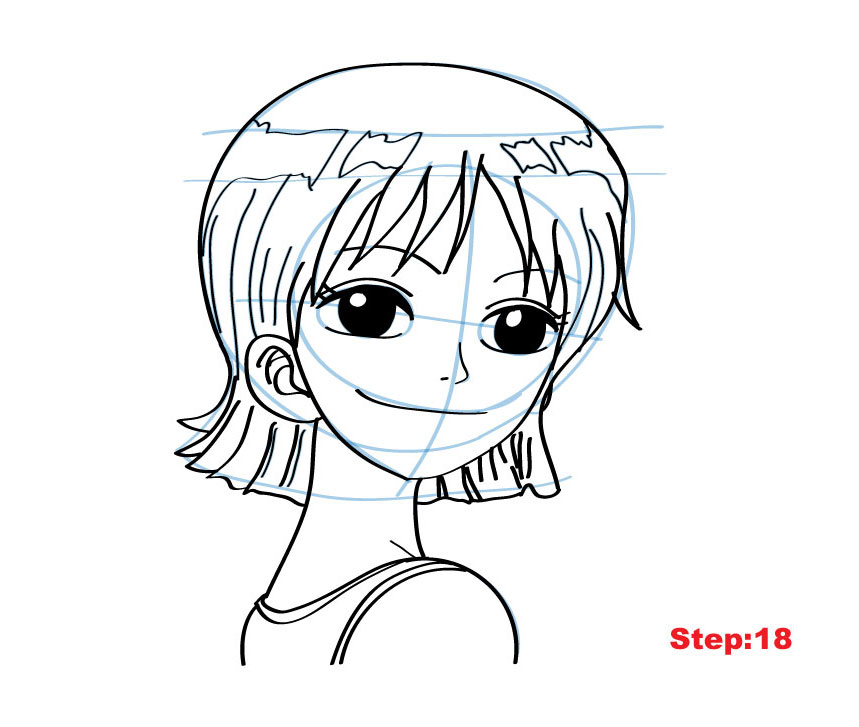
Step 18
Step 18: Lastly, we’ll fill Nami’s eyes in with black leaving the pupils empty. Take a look. She’s beautiful, isn’t she? ^_^
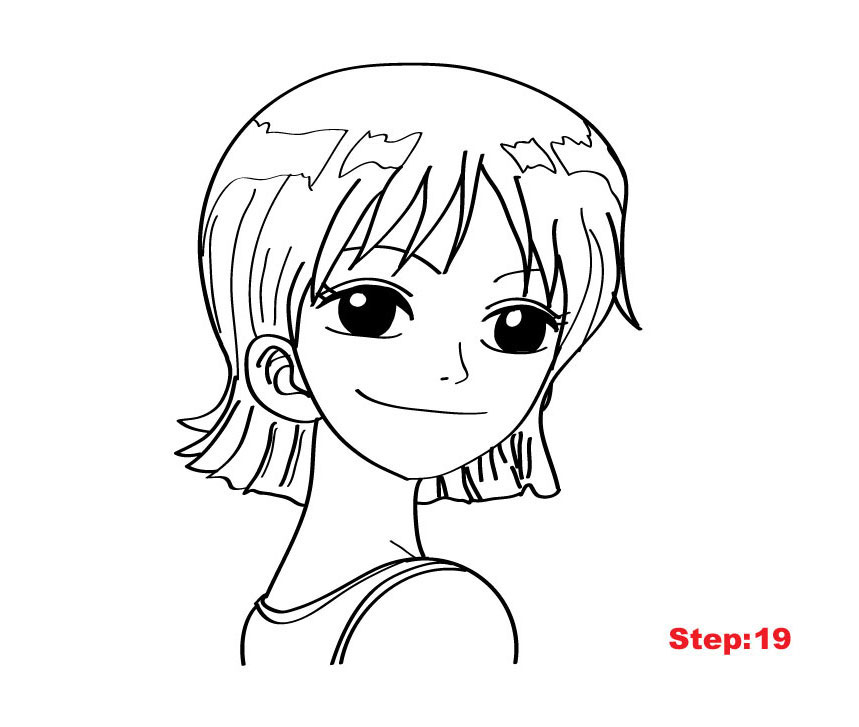
Step 19
Click here for more One Piece tutorials
Step 19: Last step!! Erase all the remaining construction lines and we are done! -_^. If your goal is to become a really good manga artist, then try to draw Nami again from memory. Compare the final result with your original, correct any mistakes and try again. This way you will build a huge library of manga body shapes that you can use in the future for your own characters.
Draw with passion! -_^
Hiroshi


4 comments
Comments are closed.